Yes, it is but I did not proccess it like most people proccess HDR's.
Well... where to begin...
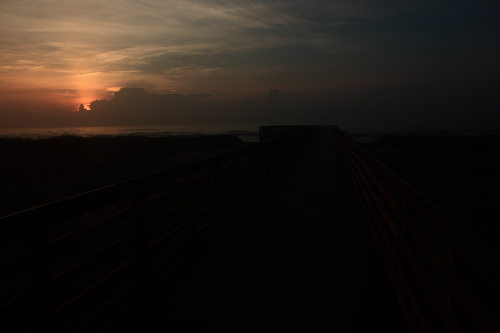
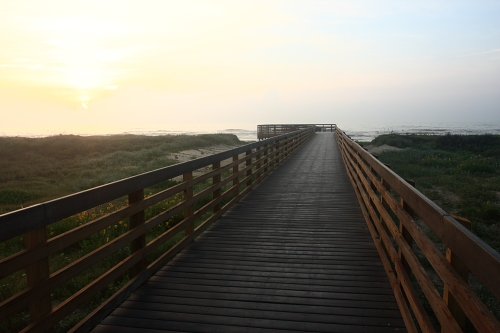
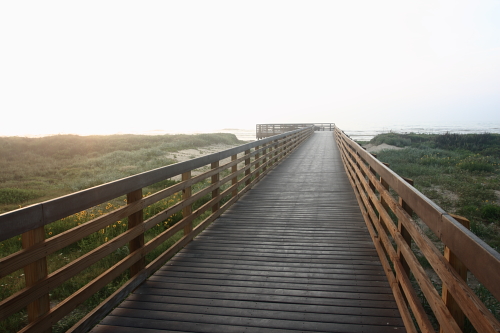
I started off with these three pictures.
Dark:
Mid:
Light:
I took all these in raw and darkened the dark shot by a 1.1 of a stop. That's the reason it looks much darker than the other two. When I looked at these three shots, I noticed that the dark shot produced the sunrise I wanted while the light shot produced the walkway and forground that I wanted, but doing an HDR of these two shots from a auto program did not at all get the image that I saw in my head nor the image that I saw when I was there.
So, I transfered each of these shots into photoshop and laid the mid and light shots on top of the dark making sure they were all lined up (apparently my tripod moved a little between the three shots).
Next I made a layer mask on the mid and light pictures, and started to soft paint black on the mid's layer mask to start to take away the sky from that layer exposing the dark layer's sky and sunrise. I worked on blending the horizon by very carefully controlling the amount of the dark layer was showing and making a nice transition to the mid layer as you went down the picture. The top of the picture is 100% the dark layer and it slowly transistions into the mid and light layers.
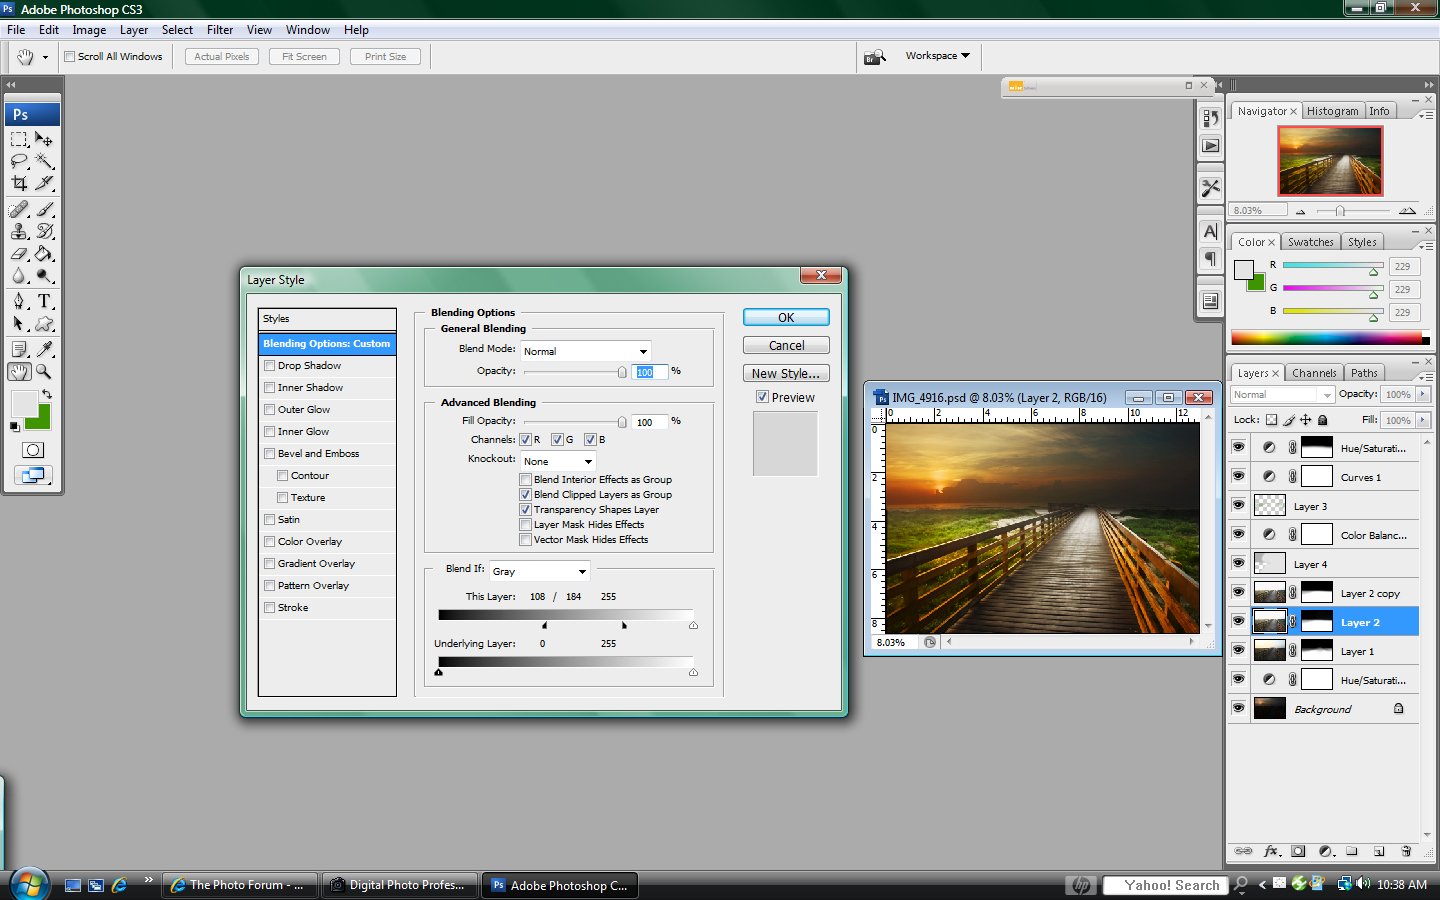
But that still didn't give me an image that looked right so I had to mess with the blending modes by right clicking on the light layer and going into the blending options, and taking the shadows and the mid-shadows from the light layer. This effectively uses the shadow areas of the layers below the light layer and only shows the color values that are above that which I select. Here's a screen shot of what I'm talking about.
See the part that says blend if. This lets you know that I have taken all the values from 0-108 out of the light layer and fading all the values from 108-184 so that all the values 185-255 that the light layer has is being shown.. Fading the 108-184 effectively makes all the color values of 108 somewhere around 1.3% opacity and 184 around 98.7% opacity.
This got me a good balance of the sunrise in the background and forground but the picture as a whole was very uncontrasty and desaturated. So, I added a curves layer to lighten a bit and add contrast. I added two saturation lvls that controlled the forground and background separately. Even after I had added saturation to the picture I could not pull the greens out of the grass so I painted a layer of green (layer 3) on the grass and set that layer to color blend. Finaly, the picture to me was to cool so I warmed up the shot a bit with a color balance layer.
Over all, I think this shot took me 3 hours to do.