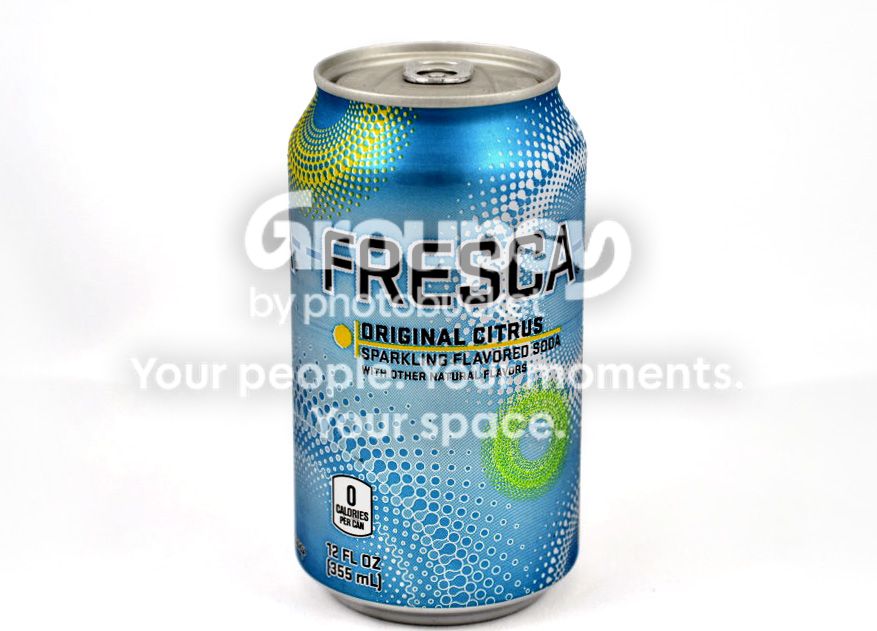
Well here's my go at editing the contrast, to be honest most of the time I stick to adobe bridge & camera raw but here's how I did it in Photoshop: first, filter>sharpen>unsharp mask; amount was around 55% and radius I think I moved all the way to 250. I probably went too far, I just eyeballed it. Next, I applied a levels adjustment layer, using the white eyedropper on the gray background in order to get most of it white. I just used a paintbrush to touch up around the edges where there was some remaining gray. You can also use the layer mask on the adjustment layer to keep the can from being affected, but I didn't think it was too bad and so I didn't go that far.





![[No title]](/data/xfmg/thumbnail/39/39292-4169a355b794ae9735845c4ad45d06ff.jpg?1734173260)
![[No title]](/data/xfmg/thumbnail/39/39291-a89dc472765e04f66f617dd9acc8030d.jpg?1734173259)
![[No title]](/data/xfmg/thumbnail/39/39293-55a527d2a9b287bf5e5b6d118abab22c.jpg?1734173260)
![[No title]](/data/xfmg/thumbnail/34/34119-711b53445c011079fb89b6f42682ed00.jpg?1734164590)