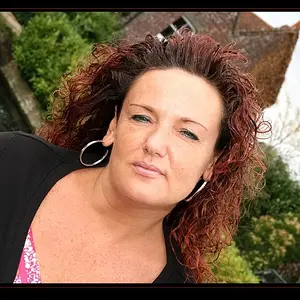
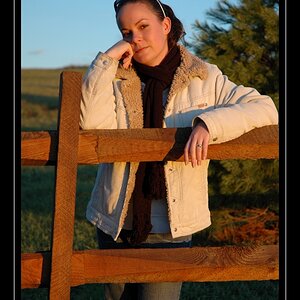
Once the image is in PS, there are several options. Probably the best and certainly the most controlable is to create an Adjustment Layer, usually Curves but Levels will work, and use a Layer Mask to limit the Adjustment Layer's effect to just the areas (i.e skin and perhaps dress) you want. Basically:
1. Create a Levels Adjustment Layer (click the appropriate button at the bottom of the layers panel or access the Layers menu and select Adjustment Layer)
2. Adjust the levels so that the skin looks the way you want. You don't have to be precise at this point, you can change it later. Also, do worry that this is also changing everything else in the picture.
3. PS adds a Layer Mask to Adjustment Layers by default and its active by default. With the new Adjustment Layer selected in the Layers panel, select black as the foreground color (you can only select black and white) and use the Paint Bucket to fill the layer (actually the Layer Mask) with black. This will seem to disable the Adjustment Layer; don't worry.
4. Now select white as the foreground color and select the Paint Brush. Adjust the brush tip size appropriately and set the softness to a middle value (right click on the image if using Windows to access the adjustment dialog, Opt-click on Mac) and then paint white over the skin and other areas where you want the Adjustment Layer to take effect.
5. You can then go back to the Adjustment Layers controls and change the values to increase or decrease the adjustment until you get the result you want.
If saved as a PSD, the layers save with the file and can be readjusted at any future time.



![[No title]](/data/xfmg/thumbnail/37/37529-aec369c64871d180644e1802850863a9.jpg?1734170687)
![[No title]](/data/xfmg/thumbnail/37/37530-f696180c1fd3444086283e369551ef10.jpg?1734170688)
![[No title]](/data/xfmg/thumbnail/35/35264-5ade32b7036391926536661aeb7491c3.jpg?1734166921)