10 stars indeed.
With our human eyes there are approximately 6000 stars which should be visible... but since we can only see stars in the direction facing 'away' from the Sun (the Sun washing out all hope of seeing stars during the daytime) you can cut that number to about 3000. That's stars to "roughly" magnitude 6 (each 1 point of difference on the magnitude scale represents a difference in brightness of about 2.5 -- it's technically the 5th root of 100 (5√100) but 2.5 is pretty close.)
Light pollution, as you've no doubt discovered, is a killer.
Here's a comparison.
This first image was shot in light polluted skies. Look closely... there's a nebula in this image (in this case it's a planetary nebula called the Dumbbell nebula, also known as Messier 27.)
Mostly you don't see the nebula... you see mud. That mud is the effect of light pollution.
Here's a cleaned up version of the same image. But to get this one, I used a special light pollution filter which rejects a lot of the areas of the visible spectrum where the wavelengths for mercury vapor lighting and high-pressure sodium lighting, but allows the parts of the spectrum for hydrogen alpha wavelengths (the red parts) and oxygen iii wavelengths (the teal-blue). This caused the entire image to have a strong "blue" cast and I had to work to clean all this up. BTW, that light pollution filter forced me to increase my exposure time to 8x longer (don't use filters for star trails).
That's quite a difference.
A few tips:
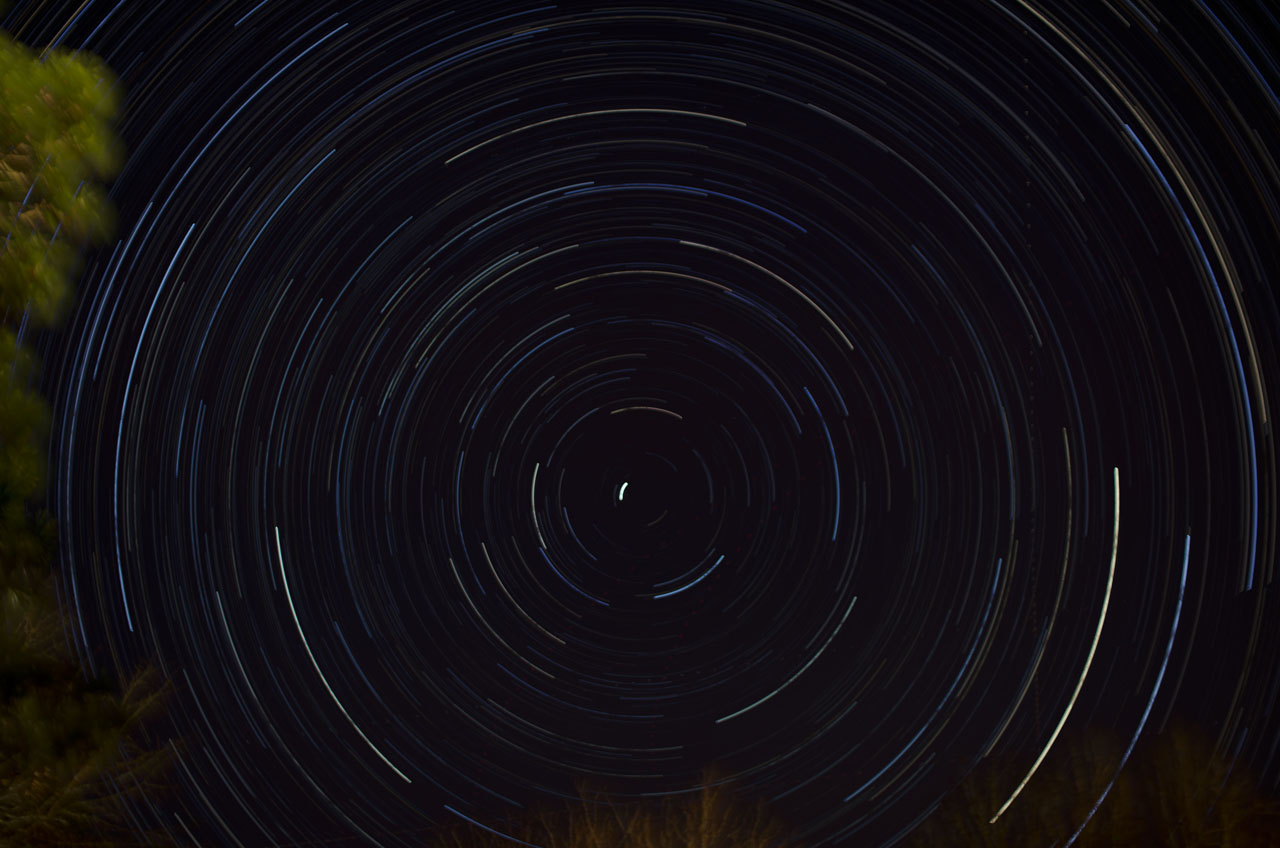
1) Get away from the light... and I mean AWAY from the light. It's best to leave the city. We will often drive an hour out of the city to get to dark(er) skies (getting excellent dark skies often requires driving for many hours.) Point your camera in a direction facing AWAY from the city. If you want the stars to swirl around the north star, then drive NORTH so that the city is to your south. Now your camera is pointing away from the city instead of toward the city (where you'll get the "light dome" of urban lighting.)
2) You need a MOONLESS night. Check our calendar... you want to do this preferably near a "new moon" (because the moon is only up during the daytime and not at nighttime.) You can even use a 3rd quarter moon because that phase is rising just a few hours before dawn but is not visible in the hours after sunset (so you get about half the night before the moon shows up.) The moon creates a lot of light pollution.
3) If you can do this on a night with good "transparency" that's even better. Poor transparency is caused by things such as high humidity (a haze in the air) or dust, smog, etc. All those particles in the air will glow and create the muddy looking sky background. When the air is really clear, there's less stuff to light up so you get darker background skies and better contrast even if you otherwise have the same amount of urban light pollution.
4) You will need to adjust your images by adjusting the "levels" or "curves" tool to minimize the muddy sky background. If you think of this in a sort of Ansel Adams "Zone System", you're trying to send the darker zones (e.g. zones 1, 2, & 3) to "black" (zone 0). Many astroiemagers will argue that the sky shouldn't be "black" (you don't want pixel RGB values of 0,0,0) but just very very dark... (e.g. pixel RGB values of say 15, 15, 15).