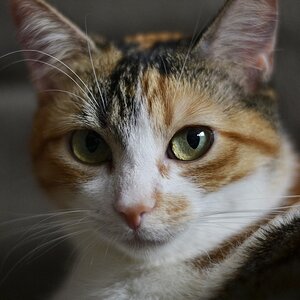
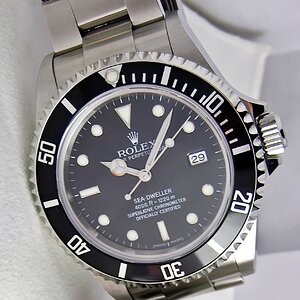
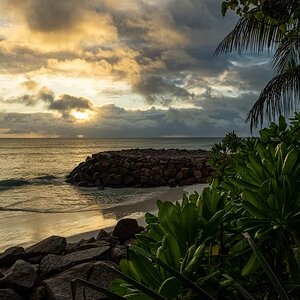
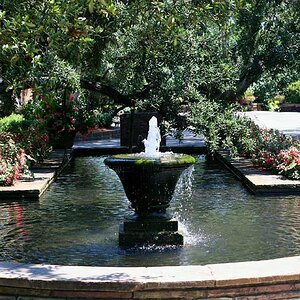
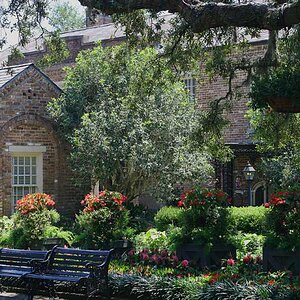
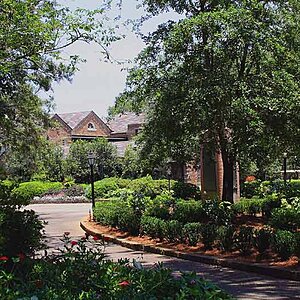
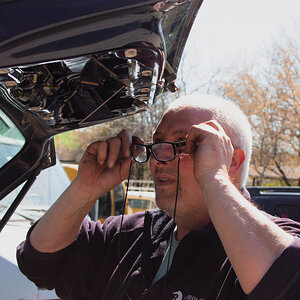
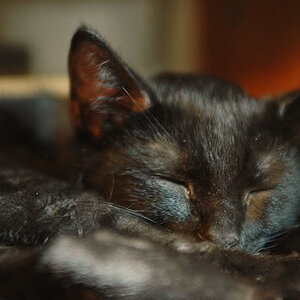
The first of the pictures I want to take!

Ah, thanks for the tips glaston! Started playing with the levels a bit more, using each color channel individually was really confusing at first, images would go really blue or green or something and i would have to try and counteract that :p I think I am starting to get the hang of it now though and it really cool some of the things you can do with it by the looks of it, although I don't 100% understand why the things happend (I think I fluked a couple of them :p). I have played with curves before and I think I am STARTING to get the hang of that too, although I sill have a long way to go to perfecting my ability :D.
 
Huh?? What's to wonder about? If you post process your images, Photoshop is the only way to go.
Actually it's akin to killing a fly with a bazooka. If photoshop can't do it it pretty much can't be done, but for simple image editing like playing with contrast, levels, etc there are 100s of capable packages for 1/10th of the price.

Andreal just keep playing and it will all make sense eventually. It's like learning a language when you're young. You start by miss pronouncing words, then you go to forming sentences and very soon you're nagging your parents to buy you a camera. :) It will all just click eventually.

Also I suggest against using f/22 on a digital camera other than Canon 5D or Canon 1Ds series cameras. f/22 while perfectly acceptable to 35mm film will cause light diffraction for the smaller sensors on digital cameras. It's not a design flaw but fundamental physics, and will make photos look soft. For ultimate sharpness don't go beyond f/16, and with a bit of playing you'll probably find images to be very sharp around f/8 to f/11 which ANDS suggested.
 
using each color channel individually was really confusing at first, images would go really blue or green or something and i would have to try and counteract that
Well, you shouldn't try to counteract the effects because then you're going out into uncharted territory.

You have to just consider what it is you're doing and why.
When you have an image open, use the eyedropper tool and run your cursor through the areas that seem like they are the lightest or darkest points of the image. While doing this, keep your info palette open and keep an eye on it.

When you see the info palette reads minimum values, such as say 3R 2G 2B and you feel these are the darkest values in your image, then hold down shift and click on that exact area.
This creates a color sampler point. Do the same for your lightest values.
You can then use these values as a starting point when you apply your curves adjustment layer. You may have to adjust them a bit more, but this serves as a starting point so you don't end up blowing the image completely out.
For levels, you want to use your histogram to guide you.
Are you at all familiar with the histogram?
Basically, anytime your histogram flatlines, that means you have lost all the detail in that area of the image. If that's in the brightest areas, those parts are totally blown out. If it's in the dark areas, then you're looking at dead pixels.
 
Wow cheers for all the tips everyone! There are so many things I want to try!

Garbz I did notice what you were saying about the light diffraction, nice to know there is a easy fix! I guess I was just kinda paranoid at not having a deep DOF and hence just went way up there :p.

Glaston, that definatly makes using levels easier to understand and yes I do know what the histogram represents, I'm just not very adept at using it atm. I'm just kind of like "oh that means there are this many pixles this dark and that many pixels that dark, thans nice", I remember someone saying not to let the histogram go too far into the last third as I will be starting to get blown out pixels, It will be helpful knowing when I have parts of my image that are not showing detaio though, thanks!
 
Since you're new to levels, the rule of thumb is to NEVER use levels in RGB mode.
You adjust the levels and curves individually in each color channel.

I'm going to adjust this by simply saying, dont use LEVELS period. Curves achieves the exact same results, only more precise and with greater control.

Also, I'm sure it's a typo but I'm guessing you mean never use levels in the RBG channel. You can, but it doesn't correct individual color-cast, just averages out the overall color comp in the picture. I use it (in curves) after adjusting the individual channels to bring down the high white/black level if it needs it.

As for why you're getting an OBVIOUS color-cast when using curves. . .its because youre either increasing or decreasing the amount of a singe color in multiple tonal ranges (0-255. . .which just so happens to be the number of "spaces" on Levels). On a PERFECT image, no matter where you drag your Color-Sampler Eye Drop (when you click on the eyedrop tool, its the second eyedropper) every value should be the same on the Red, Green and Blue channel. Obviously, that's not going to happen (and you can tell it hasn't happened when you open up the histogram panel on your D80 after reviewing images), but if you get close (for example R125/G129/B127) it should be pleasing enough. Ive opened up some AWESOME photographs in PS - and even they have slightly off-balanced histograms (the tonal ranges of the overall image and individual color channels). So, when you go in and just start dragging an individual curve, its going to offset the balance thats already in the image, and you're going to get more of one color than another in a single tonal-range, and that gives you the color-cast. Of course, if that is your intention - GO FOR IT! The first time I opened up one of my images and tried to balance out the colors, I was AMAZED by what I saw - histograms all over the place, and the difference was night and day when I corrected them.

On yours - you did good. Only on the first and last one could someone say (to a new photographer) that theres a slight imbalance in the blue channel, but obviously not one thats even close to being an issue. Your thing is perhaps upping the contrast in the photos (and maybe doing some sharpening). For that I would go into Lab Mode (from RBG mode), and apply your contrast (and sharpening) on the Lightness channel - this way you're not changing the color-balance in your image (which you would be doing if you did it in RBG mode), and instead are adjusting the luminosity of the image. It achieves (to me) better results.

If you're interested in learning and doing it yourself - this is what I would do:

Open up an image in PS. Apply a Curves Adjustment Layer. Click on show clipping, and pull the upper-right dot to the left to find where your true-white (non blown highlight) spots are, and click on that to set a white-point (might be 223/234/256), and then do the same for the lower-left hand corner one (to find the true shadow point) and click that one. Hold down the ALT button, then click on Cancel (which should read reset), and then click ok. Then, within the actual image, use your color-sampler tool to find a mid-tone (something with values close to 128/128/128), 3/4 tone (something around 184/184/184) and a nice 1/4 (56/56/56). Then simply open up curves again, and working from top to bottom (highlight down to shadows) click on the samples "highlight" point in the Red channel. A dot should appear on the Red Channels line. Drag that dot left or right (you should actually use the arrow-keys to move it - since its much more precise) until you got it to a value around 240-242. Do the same for the other two color channels. This will be most noticeable on pictures where you might have flubbed the highlights, and have a slightly dark photo. Then, hop back to Red Channel, and do the same for that point, getting it to around 184 (if the values are like in the 200's, find another point - youll mess up the image, and may start aggressively affecting the other points), and repeat for the other two channels. And do the same for the remaining points - you should start to see some cool results! It can get complicated in a hurry though if you choose the wrong points (points that are realistically within the same quarter-range), but its worth learning how to do.

Having said (all that - whew) - the images you posted really only wanted a pickup in contrast (darkening the darks, lightening the lights), and all that can be done super quick, and then toss on a quick Unsharp Mask - 100% at 2.0 Radius. And youre good to go.
 
Wow ANDS, thanks so much, thats an extremely informative post :D. I'm gonna go play with the curves a bit more and try and get some results. I have also never worked in lab mode before, nor do I even know how to change to it, but I'm sure I will figure it out, will be a new experience :D.
 

Most reactions

New Topics

Back
Top