I did exactly those instructions and nothing changed. When I'm done editing in PS, it saves it as a TIFF. Is that normal? That's what I opened back up and it changed nothing in the picture as far as I can tell.
The encoding on your image is set to leave the image uncompressed or loss-less. That is what a .tif is; a loss-less file format created to ensure you don't lose the sharp content of the image. You can change it to what ever you'd like. You can click that setting and change it to JPEG, as long as your mode is in RGB/8 bit. If it isn't in RGB/8, you can change it to RGB/8 by selecting the Image option, and clicking mode.
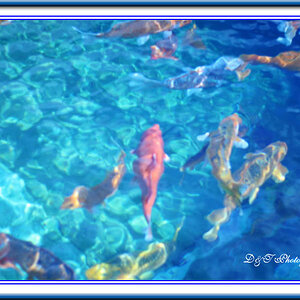
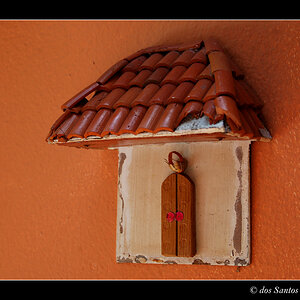
When I was reading on other forums and stuff, I got the impression that these photos were suppose to be kinda pushed to the color limit, so to speak. Almost not real like. That's what I was trying to do.
If you look at this post on another forum, the pictures the people did, did not look real life to me. VERY colorful...so I thought that's what you were suppose to do.
When I was reading on other forums and stuff, I got the impression that these photos were suppose to be kinda pushed to the color limit, so to speak. Almost not real like. That's what I was trying to do.
I think what you may be looking for is tone mapping. It is often used along with HDR, particularly if using the Photomatix HDR software, but it can be applied to non-HDR images also. Another term to google would be "local contrast"; sometimes adding "adjustment" or "enhancement" to that search helps. Check out the Photomatix website too.
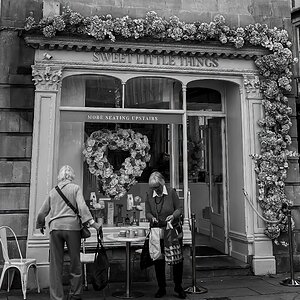
If you want to get that bright window leveled out with HDR you are going to have to take more than just 3 photos. You'll need at least one that shows detail in the window/outdoors; I'm sure all of the interior space would be black in that exposure. While HDR can be done with 3 exposures, when you've got a really wide dynamic range you may need 5, 7, 9, or more bracketed exposures.
If you want to get that bright window leveled out with HDR you are going to have to take more than just 3 photos. You'll need at least one that shows detail in the window/outdoors; I'm sure all of the interior space would be black in that exposure. While HDR can be done with 3 exposures, when you've got a really wide dynamic range you may need 5, 7, 9, or more bracketed exposures.
Ugh, the first time I did this...I took 10 pictures and everyone told me I was NOT to take that many that I only needed 3-5. So this time around I only did 3 as suggested. I figured maybe by taking MORE pictures, I would get a bigger depth of field than with 3.
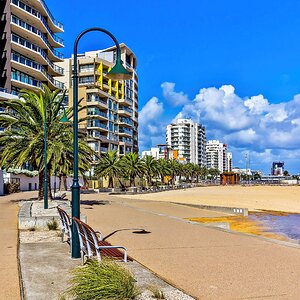
You've picked a tough scene to learn with. I'd suggest outdoors on a bright sunny day. You want a scene with bright skies and clouds, yet some shadowed areas. Three exposures will probably handle it alright (-2, n, +2), but try five exposures too (-3.33, -1.66, n, +1.66, +3.33). Then move indoors, and practice with windows.
If you like the painting-like local contrast look check out Photomatix (HDRSoft). It's very popular, and you can download a trial version.


![[No title]](/data/xfmg/thumbnail/37/37491-9a5a4b87cc7adab94e5cc59f2da93701.jpg?1619738112)