I got a request to share how I reworked this photo and in what program, so here it is:
I worked the photo in Photoshop CS4
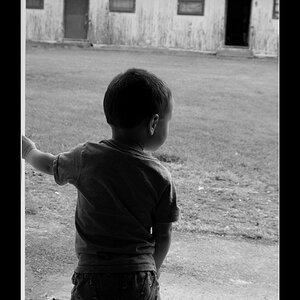
1. Using the ruler tool, I straightened the photo using the vertical edge of the garage door, Image>Image Rotation>Arbitrary.
2. I cropped away all but the bride and a bit of space around her that I wanted to keep so she wouldn't be too crowded in the final composition.
3. I created two new layers and filled one with black and the other with white.
4. I copied the bride base layer to a new layer on top of the black and white layers.
5. I put a layer mask on the bride layer and used a soft brush to paint through to reveal the black layer below to get rid of all the background and just leave the bride intact. When it was difficult to make an easy distinction using the black layer, I switched it off and used the white layer. I masked through the purple cup as well.
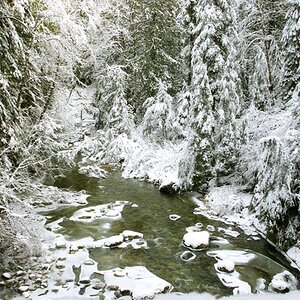
6. I pulled in a copy of a background I thought would work well for the bridal composition and placed it just below the bride layer with the mask, then sized and positioned it.
7. I blurred the background image with gausian blur to taste, which turned out to be 1.4 pixels. I also reduced the brightness and saturation of the background a bit to shove it further back compositionally, and to help the bride stand out better against it.
8. I feathered the bride layer mask to taste so that it would blend better with the new background.
9. I created a new layer under the bride layer and above the background's adjustment layers, then cloned skin from the bride to build the hand and arm that would hold the glass, using the clone stamp set to Sample All Layers.
10. I created a brightness/contrast adjustment layer for the new hand and arm to darken it, clipping it to the arm layer alone.
11. I brought in a stock photo of a glass, reduced the opacity, then transformed it to size and fit it into place, then took the opacity back up to 100%.
12. I masked off the areas of the glass where the fingers would need to appear on top of it, as well as the rest of the pixels surrounding the glass.
13. With the glass masked, I made a duplicate of it, then set the bottom glass blending mode to Hard Light at 100% opacity, and the top glass blending mode to Multiply at 58% opacity.
14. I created a layer below the bottom glass layer and filled it with a pale yellow, then masked off all but the area I wanted to represent the liquid in the glass, then reduced the opacity of that layer to 27%.
15. I made a new layer at the very top of all the other layers and filled it with black. Then I reduced the opacity to 20%, made a layer mask, and painted a hole in the middle of the mask with a very large, very soft brush to make a vignette effect. I then re-adjusted the opacity to taste, ending up at 27%.
16. Using Ctrl-Alt-Shift-E (on Windows) I jumped a copy of everything onto one layer at the top of the stack.
17. I sharpened the new layer using Smart Sharpen using Amount 100%, Radius 0.3 pixels, Remove Lens Blur, More Accurate checked.
18. Save for web and upload.