Some other options to consider...
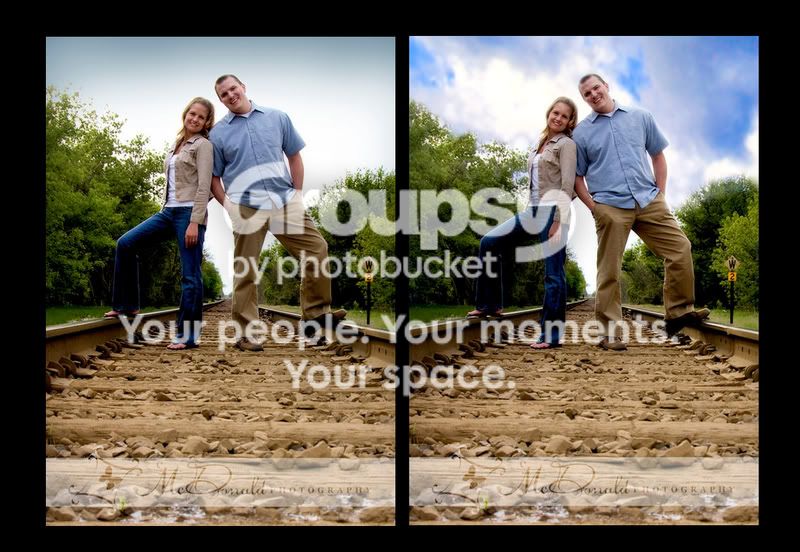
Another way to get a blue natural sky... If you have the pic in RAW you may be able to underexpose the picture to get a bluer sky, which you can then layer over the other picture.
Sometimes if I know the sky will be a problem, I'll deliberately take a blank shot to get just the sky in the same general direction as my original subjects. This will get me a more natural looking blue gradient... the pure "this color to this other color" gradient can often be somewhat fake looking AND/OR not be appropriate for the position of the sun.
Once you have your "target sky"... (assuming PS)
I've only done this exact process a few times, so my instructions may be a LITTLE off. You should get the gist, however. (I'm often like "Ok, did I want reveal all here or hide all?")
Paste the layer of your new sky (or the whole shot with the bluer sky) over the background of the people exposed the right way.
Do a select as described in some previous posts to get the space that is the sky, invert it, feather the selection, and create a layer mask of that on the corrected sky shot. Do a reveal all.
Set transparency on the layer (blending options), and then move it around until you get the desired color you want.
The benefit of this option is it should give you the color you are looking for with far less issues of funny edges (such as you will likely have in the trees there... trees are HELL)
The other benefit is you can simply grab a paintbrush and paint directly on the layer to hide or expose trouble areas, and because of the transparency and layer method, you can be somewhat sloppy and it will still look normal... it will just darken or lighten the surrounding elements (such as leaves) a bit.



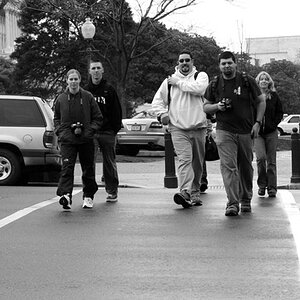
 , but it gives you an idea. I took about 5 mins to do this.




![[No title]](/data/xfmg/thumbnail/31/31012-f5e0c7cdea2f2c3e44737e3f61c2461a.jpg?1734159086)
![[No title]](/data/xfmg/thumbnail/1/1592-cfae4a7ea791f96c6e2d03484be2e454.jpg?1734142210)