Scatterbrained
Been spending a lot of time on here!
- Joined
- Apr 19, 2010
- Messages
- 2,184
- Reaction score
- 1,083
- Location
- Yucca Valley, Ca
- Can others edit my Photos
- Photos NOT OK to edit
So I've been jones'in for a proper background projector for a while now. Normally when I want some sort of pattern on the background, I'd find something from around the house to use as a cookie, or I'd place something in between the subject and background so it's shape would be an out of focus silhouette against the background. This works well enough, but can be quite limiting.
I'd been eyeballing the Tallyns unit for a while but when I finally decided to quit procrastinating and just buy it, it was discontinued. Then I came across the $40 SP Studio Systems unit at B&H and noticed a couple of reviewers using them on PCB lights. Granted they were just putting the bare unit right over the light, which doesn't work too well. One reviewer even mentions using bungee cords to hold it in place. Using a bungee cord to hold a modifier to my light just isn't an option, but I figured there was bound to be a way to adapt it to my lights, and for $40 it was worth it just to try.
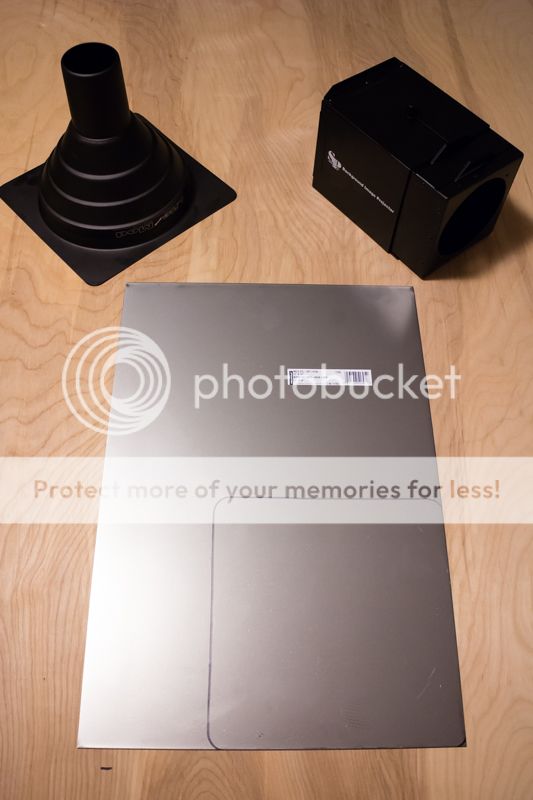
When it came in I noticed that the mount was just held on with two phillips head screws. Removing the mount revealed that the unit was just a flat box, perfect. I went to Lowes and picked up a sheet of $8 weld steel, some more cutting wheels for my dremel, and some flat black paint.
The plastic mount, removed via two screws and nuts.

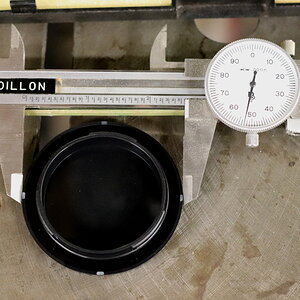
I used the base of my snoot for the PCB LiteMod system to make a cutting template on the steel.

Then I marked out the center and where the edges of the unit would be; I used the unit to mark out the center hole and screw holes.

A bit more cutting and it was ready for paint.


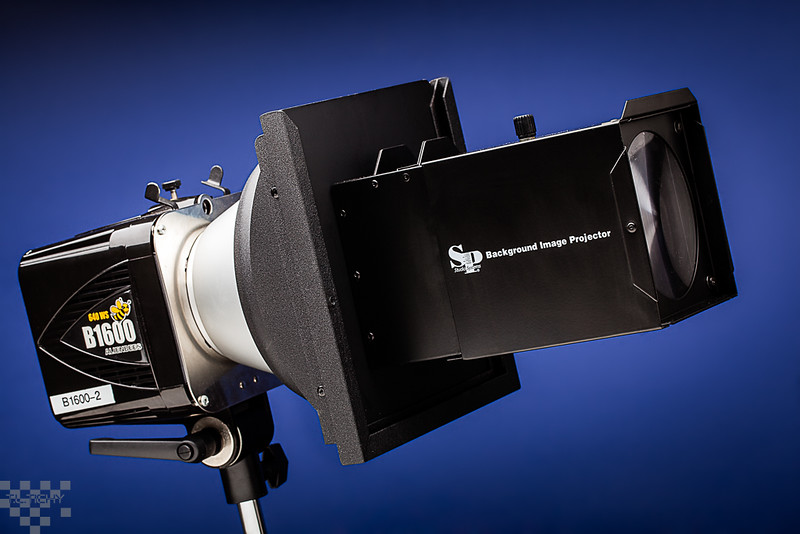
Assembled it slides in place like it was always meant to be there.
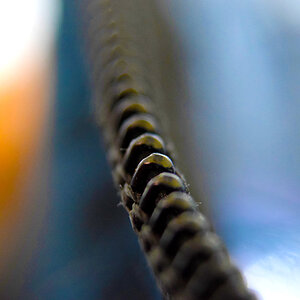
Not knowing if it was going to work or not, I didn't buy any gobos to go with it. Instead I tested it with a piece of black construction paper that I cut some random shapes into.

I spent about $60 on this, and about an hour or so of time (not counting the drying time for the paint). Considering that the Tallyn's unit was about $250, and even the speedlight oriented "LightBlaster" and LastoLite "Stobo Gobo" cost $100, I'd say it was well worth it. Even if you have to buy the LiteMod Mainframe, that still puts you at about $120, which really isn't bad for what you're getting. Then it's just a matter of heading over to GoboMan for some gobos.
Worth noting, the SP projector is made of thin sheet steel riveted together. The two halves slide on strips of clear plastic glued to the inside of the "outer" half. Very simple and straightforward, but should be plenty durable for occasional use in a studio.
I'd been eyeballing the Tallyns unit for a while but when I finally decided to quit procrastinating and just buy it, it was discontinued. Then I came across the $40 SP Studio Systems unit at B&H and noticed a couple of reviewers using them on PCB lights. Granted they were just putting the bare unit right over the light, which doesn't work too well. One reviewer even mentions using bungee cords to hold it in place. Using a bungee cord to hold a modifier to my light just isn't an option, but I figured there was bound to be a way to adapt it to my lights, and for $40 it was worth it just to try.
When it came in I noticed that the mount was just held on with two phillips head screws. Removing the mount revealed that the unit was just a flat box, perfect. I went to Lowes and picked up a sheet of $8 weld steel, some more cutting wheels for my dremel, and some flat black paint.
The plastic mount, removed via two screws and nuts.

I used the base of my snoot for the PCB LiteMod system to make a cutting template on the steel.


Then I marked out the center and where the edges of the unit would be; I used the unit to mark out the center hole and screw holes.

A bit more cutting and it was ready for paint.


Assembled it slides in place like it was always meant to be there.
Not knowing if it was going to work or not, I didn't buy any gobos to go with it. Instead I tested it with a piece of black construction paper that I cut some random shapes into.

I spent about $60 on this, and about an hour or so of time (not counting the drying time for the paint). Considering that the Tallyn's unit was about $250, and even the speedlight oriented "LightBlaster" and LastoLite "Stobo Gobo" cost $100, I'd say it was well worth it. Even if you have to buy the LiteMod Mainframe, that still puts you at about $120, which really isn't bad for what you're getting. Then it's just a matter of heading over to GoboMan for some gobos.
Worth noting, the SP projector is made of thin sheet steel riveted together. The two halves slide on strips of clear plastic glued to the inside of the "outer" half. Very simple and straightforward, but should be plenty durable for occasional use in a studio.

![[No title]](/data/xfmg/thumbnail/42/42275-2ca41f93a172e2e510afb46912a2bb61.jpg?1619740084)