OK I'm getting brave C&C please...

timfrommass

TPF Noob!
Joined
Aug 20, 2009
Messages
182
Reaction score
1
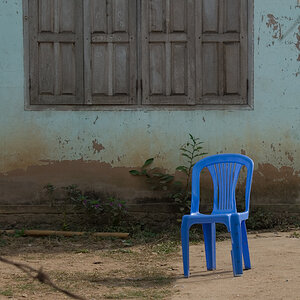
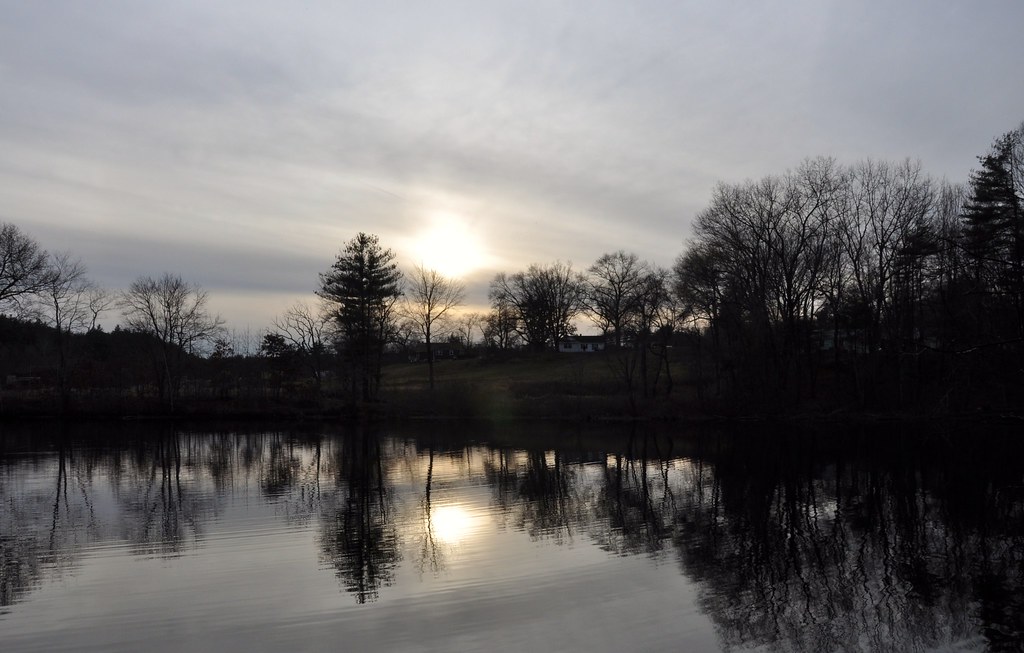
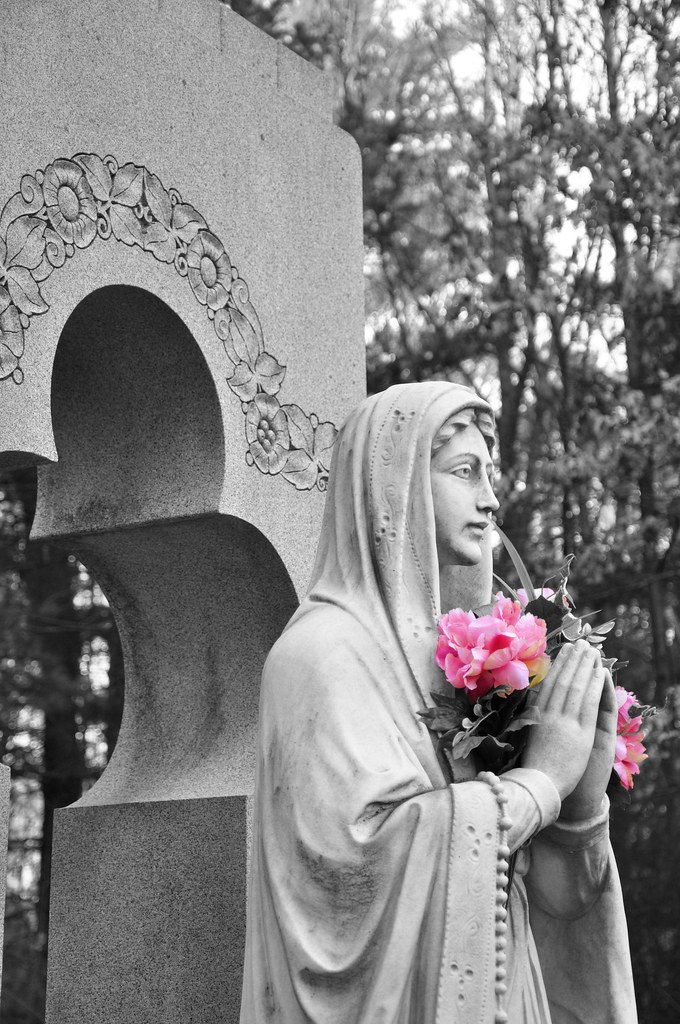
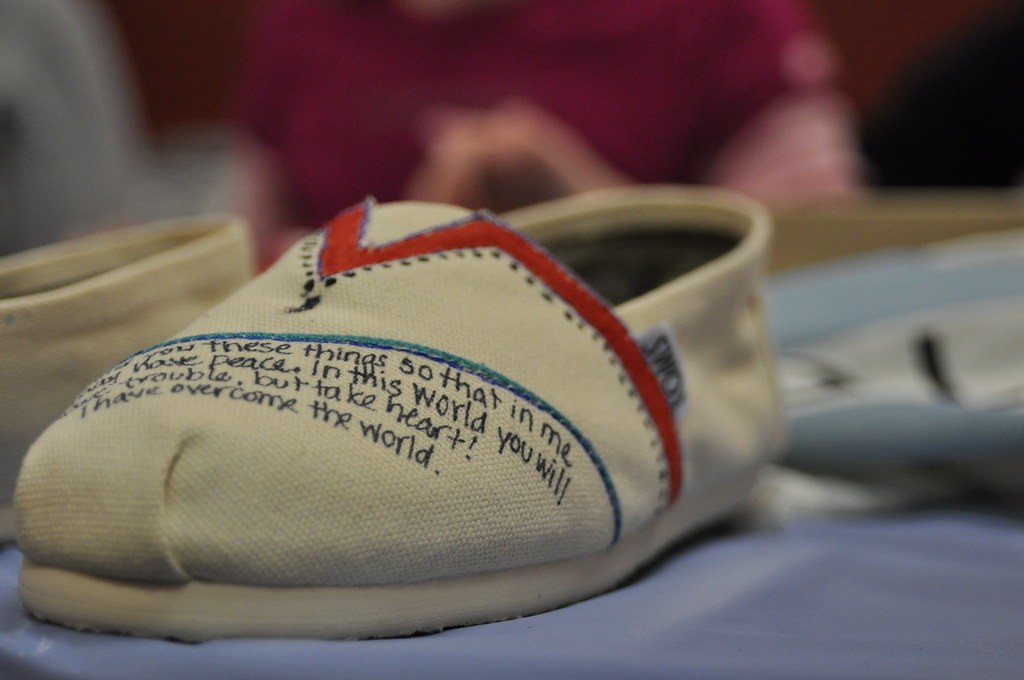
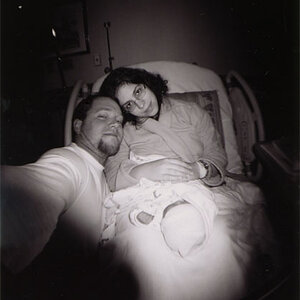
I've had my D90 for almost a month, and I've finally gotten up the courage to post a few shots. I'm completely new to the DSLR game, I have no photography back ground prior to getting a P&S camera in June. I have some books on the way to learn about exposure and composition, but I'm more than ready for some constructive criticism to help me along the way. Here it goes...

4154996456_ef3fafc093_b.jpg


4152432354_d722b8ae08_b.jpg


4152427680_6d3fd2e07d_b.jpg


4152429908_43a6209b80_b.jpg


-tim
 
#1 - add a bit of fill light in PP
#2 - like selective colors, though image seems a bit noisy
#3 - too soft for my flavor. Don't cut heads (or any body parts for that matter)
#4 - cute.

not sure what lens you're using, couldn't pull the exif, but boost the sharpness in camera. On D90 and D300, I'm on Standard w/ sharpness+5, Saturation+1.


Just curious, does that imply you shoot in jpeg?
 
#1 - add a bit of fill light in PP
#2 - like selective colors, though image seems a bit noisy
#3 - too soft for my flavor. Don't cut heads (or any body parts for that matter)
#4 - cute.

not sure what lens you're using, couldn't pull the exif, but boost the sharpness in camera. On D90 and D300, I'm on Standard w/ sharpness+5, Saturation+1.

Thanks for the advice. The 1st and 2nd image were shot with the 18-105 kit lens. The 3rd and 4th were shot with an older nikkor 28-105 macro lens.

For the first shot, it was a bit brighter out than the way the photo came out. I tried shooting it a bunch of times and it seemed like I either go the highlights in the landscape and lost the detail in the sky, or vice versa. In retrospect I wasn't paying too much attention to ISO (I think i was at 320) would it have helped if I were shooting at a higher ISO? Or are these the type of adjustments that are always made in PP? I don't have PS yet so taking your PP advice isn't something I'll be able to do.

The second pic might seem noisy, because the selective color editing was done in paint, lol. It's all I have. I usually think that selective coloring is cheesy, but I really wanted the flowers to stand out, and the trees in the background had no interesting color.

I thought the third one was cute with such a tight crop, but I appreciate your advice and think that maybe I should have made a wider shot that I could have edited if I wanted. It is a little soft, and I don't know why?
 
looks like you are on the right track to me. take some of the above advice and put it into practice.

I have some books on the way to learn about exposure and composition

this is smart, read them often and never assume you have mastered anything.
also look at a lot of pictures and enjoy the process along the way.
:)
 
#1 - Centering the sun doesn't work for me. I think moving the sun out of the center of the frame is making the image more interesting. If you get a chance to re-shoot this scene try it with lowest ISO setting (50,100) and aperture at f18 or so to get a long exposure time. That will soften the water surface and may add a bit to the mood. Play with the aperture (in Manual mode!) and adjust the shutter speed accordingly to properly expose the image. Ehhh, of course do NOT forget the tripod!!!!

Later down the road you will see that this type of scene is a good candidate for creating HDR images but I would give that a bit more time.

#2 It might be a bit grainy but I do like the clarity of the shot. Lots of detail in the foreground. Maybe you could have played a bit more with the composition although I think this is the best shot out of the batch that you posted.

#3 Using this lens gives you a nice distortion. But be careful about the background. The kid's expression is fine but the background is quite distracting. In general when taking portraits you don't want to have the subject too close to the background as even the lowest f-stop may not throw it out of focus the way you would like to. Have the subject 7-10 feet away from the background and you can get some great results whether it is a nature background with foliage to give it an abstract pattern or at home when you don't want the viewer to see the mess in the background ;)

Of course always focus on the eyes!

#4 Same thing with the busy background. If the shoe would be placed in a "quieter" environment it would be more prominent. Also the dark red in the background (sweater?) is not "helping" at all. You could desaturate it in PP.

Keep going. Good luck!
 
older nikkor 28-105 macro lens
I got the same one, images are pretty sharp on it.

The whole cutting heads and other parts deal is this. One can shoot anyway you want and since photography is really a subjective form of art, there is no RIGHT OR WRONG way of taking an image. There are guidelines for portraits, like not cutting part of the feet, or fingers, etc etc, books you have might talk about it.
There is a book out there, for the life of me I don't remember its name and can't find it on the shelf that describes classical approaches of photographing body parts. See if you can find something like that. The way I was taught by wedding freaks :) is during so called learning period, do things straight fwd, once you get a hang on basic&standard junk you start playing around with composition, lighting, exposures, etc etc.
Keep shooting and improving.
---------------------
EDIT
Here's a book that I like, though can't find on the shelf now. :(
Body Parts: Don Blair's Guide to Lighting and Posing
It'll teach you how to cut body parts:gun: (using photography)

This is the image (taken from http://www.shutterbug.net/images/archivesart/1299books158i09.jpg)
1299books158i09.jpg


Good luck
 
Last edited:

Most reactions

New Topics

Back
Top