What's new

purposely degrading a image for effect

bribrius

Been spending a lot of time on here!
Joined
Jan 12, 2014
Messages
8,708
Reaction score
1,312
Can others edit my Photos
Photos NOT OK to edit
here is one of my "attempts"
shot high iso, high crop, incandescent, sepia... blah blah blah.
probably would have been easier with a 2mp camera............


anyone try this type of thing? have examples? degrading images with noise I was kind of curious about as well. im not quite pulling this off (having a lot of fun messing with it though)View attachment 70348
 
Ive got a GIMP filter which does an amazing film grain emulation, I sometimes add it to digital B&W shots for effect, to make it look like it was taken on i.e. ISO 400 b&w film, gives good results.

i.e. this was at the lowest grain-emulation level

$me.webp
 
Yup. I have a 20 some odd step process to age photos.

What I can tell you is this... shortcut simple approaches to this are not going to look all that genuine. But then, the effect you're looking for can be something as simple as a patina to the image, and that's pretty easy. If and when you want to get a particular photographic effect, such as aging... or producing an old polaroid... there tends to be a lot more work involved.

Some examples:

Boxborough%20One%20Room%20Schoolhouse%202010%20-%20141%20final.jpg


Boxborough%20One%20Room%20Schoolhouse%202010%20-%20145%20rev3.jpg


Boxborough%20One%20Room%20Schoolhouse%202010%20-%20192.jpg
 
  • Thread Starter 🔹
  • Banned
  • #4
oh do tell, of this process...
 
Well, it's one of the few secrets I "guard" because it took me several hours to develop the process... however... the basics of it are this...

- b/w conversion
- curves for harsher contrast than usual
- multiple color overlays
- overlay images of aged and mangled paper in low opacity
- mess up the edges a bit
- minor adjustments on positioning on any of the previous steps to get better results on a per image basis
 
  • Thread Starter 🔹
  • Banned
  • #6
Well, it's a little too much to go into, but...

- b/w conversion
- curves for harsher contrast than usual
- multiple color overlays
- overlay two different images of aged and mangled paper in low opacity
- mess up the edges a bit
- minor adjustments on positioning on any of the previous steps to get better results on a per image basis

how would you feel about starting a specific thread of your process and doing a step by step with photos? put it in a aging photo sticky?
 
I know you didn't see it because I was editing it as I posted, but if you look again, you'll see I changed it to "It's one of the few secrets I guard". :)

But hey... you got more out of me than you will EVER get out of Mish. :)
 
  • Thread Starter 🔹
  • Banned
  • #8
I know you didn't see it because I was editing it as I posted, but if you look again, you'll see I changed it to "It's one of the few secrets I guard". :)

But hey... you got more out of me than you will EVER get out of Mish. :)
- multiple color overlays
- overlay images of aged and mangled paper in low opacity


I didn't quite grasp this part. im thinking it must be a lightroom feature and im not real huge on post processing and pp software at the moment. overlays, hdr, masking, all these things on here like that. out of my realm still im just a straight shooter. Most of my photos, beyond basic slide changes don't really get touched. The ones I have tried to do like the one posted above is new to me and im counting on camera settings and cropping because I don't know anything else....:smileys:
 
:lol: I'm not THAT old... nor am I that cute. :)
 
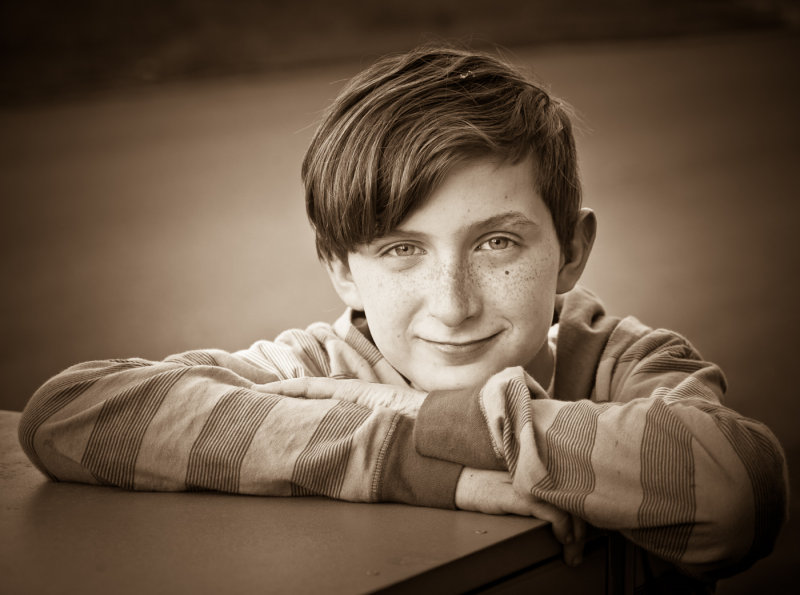
One from this week, an impromptu portrait of my son, processed as a sepia tone image and with a lot of light fall-off to sort of hearken back to an old,old photo of his grandfather shot with a very old (1920's?) folding camera that had a lot of light fall-off at the edges of the frame. Years ago, I do not think that we ever thought we would be ADDING BACK light fall-off like we do now so often in post processing!

155098996.jpg


[ D3X_3039_LAA_28-105-14.jpg photo - Derrel photos at pbase.com ]
 
There is a big difference in the range of control between doing it in the camera and doing it post process.

If I understand correctly the photo in the OP was done by manipulating camera settings and in-the-camera is what the OP is asking about
 
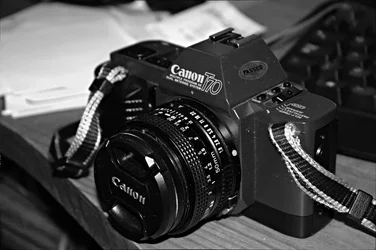
One fun way to degrade an image in-camera is to use a Canon lens! lol...just kidding...

But seriously...I used to use diffusion filters, "hairspray filters", cross-star filters, and so on, as a way to "take the edge off" of modern high-resolution lenses and films. I look at deliberate, slow-speed panning as one way to "degrade" or "alter" the normal imaging paradigm. Same thing with giving the tripod a gentle slap during a long exposure, or deliberately shaking the camera with a fast, downward- or sideways-motion while pressing the shutter release button...it creates a different effect.

The way I see it, it doesn't matter one bit if the image is "degraded" in the camera, or in software, or in a chemical-based darkroom; reducing the "standard" of image quality can be done at ANY point in the entire imaging chain...like for example, electing to use a cheap zoom lens, or a lens + a crappy $15 2x teleconverter, as a way to get a more ethereal, less-sharp, less-crisp image. Years and years ago, I sometimes used a $15 Tokina 2x converter and a Nikon 50mm f/1.8 Series E lens to make softer portraits...the lens was kind of flarey, but with the cheap, poorly-matched Tokina 2x, it looked, well, kind of dreamy.

One of my FAVORITE ways to degrade an image in-camera was to shoot through window screening material, using a 135mm lens. THe effect of a DARK-colored wire grid material in front of the lens is somewhat like a cross-star filter, and yet different. TIFFEN makes its line of Black Net Diffuser filters, to basically simulate this effect. The effect is very much different from LIGHT-colored diffusing filters.
 
I actually LOVE playing with this concept but unlike the other bunny I'm horrible at post work so I try to get the effect I'm looking for in camera by the methods Derrel mentioned, slow shutter speeds, often panning or intentionally moving the camera, using everyday magnifiers like a dollar store magnifying glass freelensed in front of my lens and sometimes I add it in post.

Check out this set on flickr, all is done in camera and what I would call normal processing of a raw image after.

https://www.flickr.com/photos/judi_smelko/sets/72157632520214397/

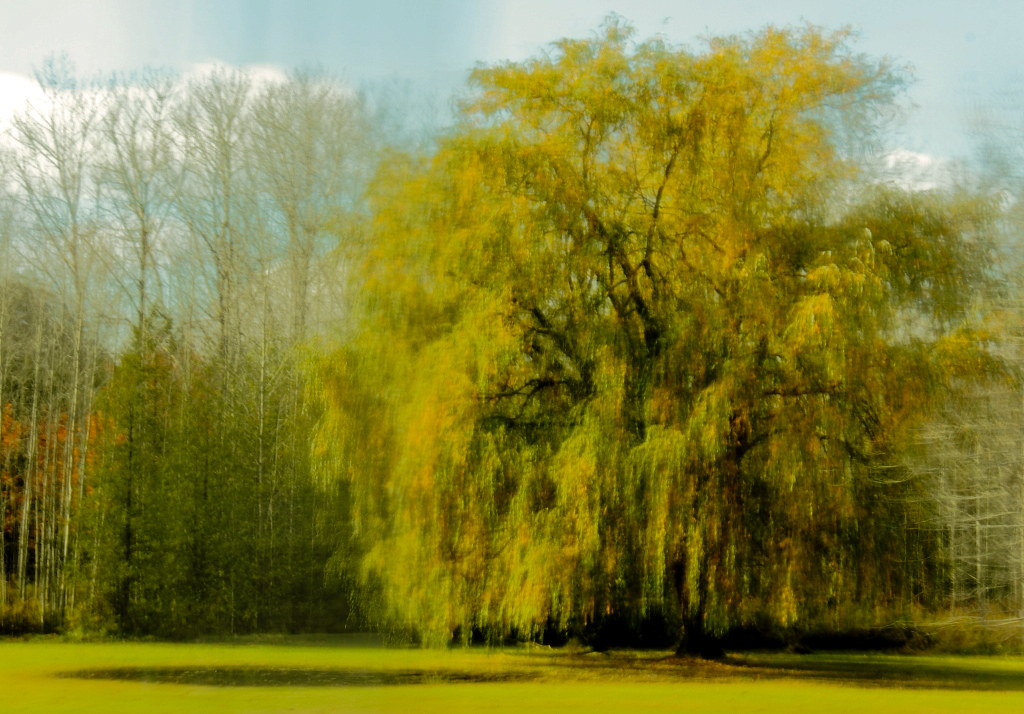
And this is the shot that started my fascination with playing around with motion and "degraded" image qualities.

 
That shot above has a sort of Impressionist painting-like vibe! I recall how the first time I saw that picure, I was pretty impressed by it.
 

Create an account or login to comment

You must be a member in order to leave a comment

Create account

Create an account on our community. It's easy!

Log in

Already have an account? Log in here.

Back
Top Bottom