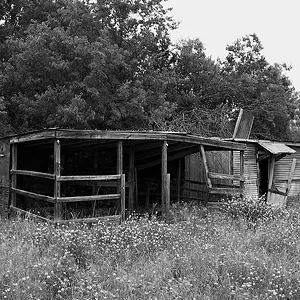
You said simple...

----------------------
1) Open the photofile you want to edit in photoshop. (File > Open)
2) If you need to do any resizing you can go to either (Image > Image Size) Or go to (Edit > Transform > Scale. Once brackets appear hold shift and drag one of the corners to whatever size you want. Holding shift will maintain the dimensions ratio.)
3) Now that your photo is opened and sized right we can add your name or logo or whatever fits your fancy. First look on your toolbar and click the "T" button.
Once you have clicked it you should see a new font toolbar appear where you can pick your font, size, color, ect...
4) Now that you have the the font and color you want go to your photo; left click and drag it to however big you think it will need to be. Next type in your text. When you are done [I myself usually do it like this] go back to the toolbar and click on the move tool. This will enable you to move the text wherever you would like.
5) And there you go. For more "simple" effects you can look to where you can see the layers.
Here you can change the opacity to make the text blend better or double click your text layer name (Not the Icon this will reopen the text box) and you can see several little effects you can add on your text. Also while you are at the layers you will see where it says "Normal". If you scroll through all the different blending modes there you can see several other "effects" as well.
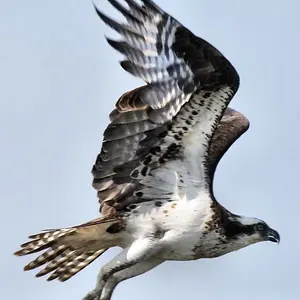
Here is my result:
Hope this helps. My first tutorial.

Wasn't sure where your computer skills were at so I added some basic computer things in there too.
Also once you get used to photoshop you can do something like my signature in 5 minutes and several other great things.
Everything here I did in photoshop...
http://photobucket.com/albums/v391/Outkastplaya6769/Sigs/


 That was perfect and just what I needed. Got it done. Thanks!


![[No title]](/data/xfmg/thumbnail/37/37602-1ef8dbb1c2d0e4ff347ee65d328c3603.jpg?1734170730)

![[No title]](/data/xfmg/thumbnail/42/42253-fef7e43227f484b1a95dd6d85c03bd40.jpg?1734176623)