
virtualPhotographer
TPF Noob!
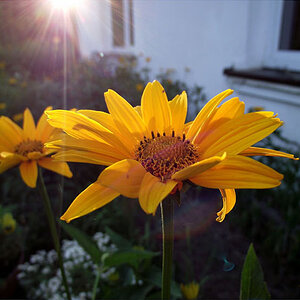
Hi,
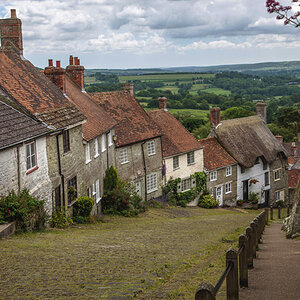
I would love to hear your comments on this photo. It was processed with "virtualPhotographer", a free Photoshop plug-in a friend and I created.
Below it is the before and after in a smaller size.
-- Colin


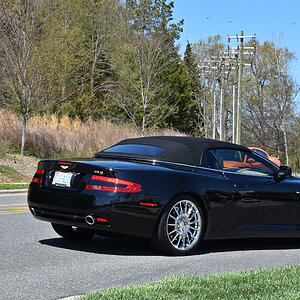
As promised here is a larger version of the original photo. -- Colin

I would love to hear your comments on this photo. It was processed with "virtualPhotographer", a free Photoshop plug-in a friend and I created.
Below it is the before and after in a smaller size.
-- Colin
As promised here is a larger version of the original photo. -- Colin


![[No title]](/data/xfmg/thumbnail/30/30883-04222f7ae234efdf80dff6f96ddad16f.jpg?1619734495)
![[No title]](/data/xfmg/thumbnail/40/40412-73276feced223de99c761fc2cc279db5.jpg?1619739461)


![[No title]](/data/xfmg/thumbnail/38/38732-8364f5190d3f325e8ee02d23404a610c.jpg?1619738703)