Is this what you are looking for?
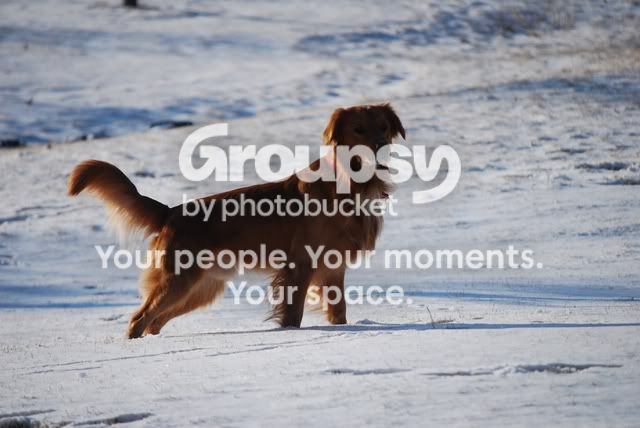
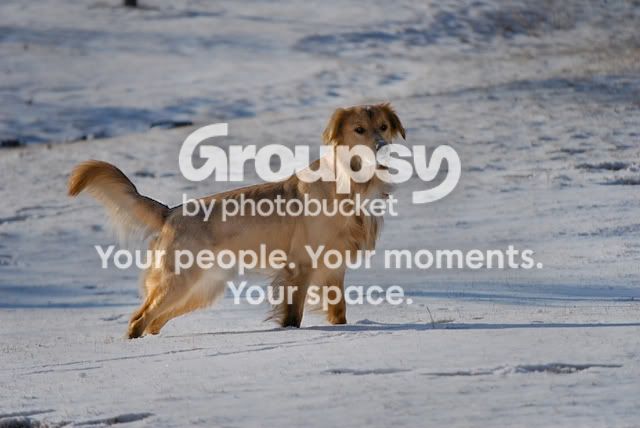
Fixing it was easy. I used the quick selection tool to select the dog (Only available in CS3 and CS4) then I took the dodge tool and set the exposure to 24 and selected shadows, and ran over it with a very large SOFT brush size (By soft i mean the hardness was turned to 0%), and I repeated the process until I got the right exposure of the dog I was looking for.
Now, it still needs some tweaking after this, you will notice that after doing this the dogs features look kind of washed and faded. I then go to Image>Adjustments>Brightness/Contrast, and increase the contrast slightly to get the correct shadow tone from the dog.
after the contrast is set, you will notice that the color of the fur is off, then you need to go to Image>Adjustments>Selective Color, and select reds, and adjust the reds until you get a golden look.
Then go to Image>Adjustments>Hue/Saturation, and select reds again, and turn the saturation down a bit.
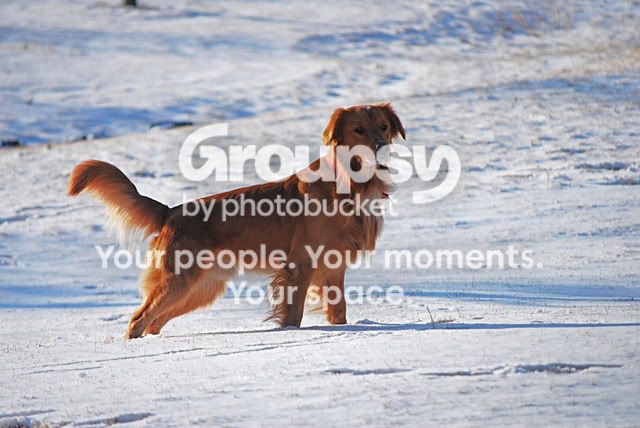
then, click the marquee tool, and right click the image, and select "Select Inverse". Once you do this, select the burn tool, turn the exposure to 17, and increase the brush size very large, then go over the snow, darkening the snow to the desired level (make sure the selection for the burn tool has highlights selected). Once you achieve the desired tone of the snow, you will see some areas on the dogs fur that are still pure white where the snow is seen through the fur.
Select the marquee tool again, and once again, right click the image and select "Select Inverse." Once you do this, select the burn tool, and shrink the tool brush size to a size that is moderate just to cover the basic outer edges of the dogs fur, and run over the edges of the dog with the burn tool until the correct tone is achieved. Then select the marquee tool and click anywhere on the image, and you are done.







![[No title]](/data/xfmg/thumbnail/37/37113-886cb28b1e3fb197bdd00a9148269407.jpg?1734169831)