What's new

The Macgyver thread

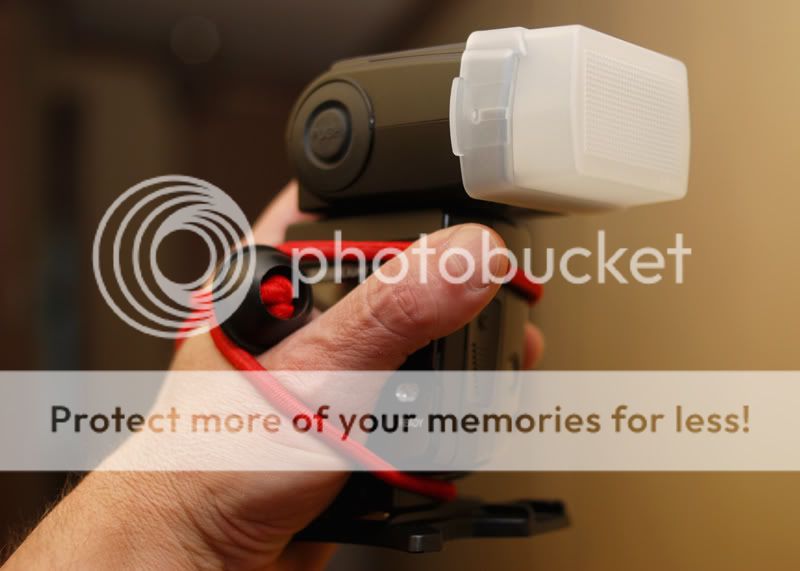
Ever tried to shoot one handed while holding the OCF in the other on a hot summer day?

DSC_0978_web-1.jpg


...... and dealing with sweaty palms?


Balled bungee cord, baby!

Plan-B.jpg
 
Haha this one ^ is good. How took the photo of you taking the photo though ;)
 
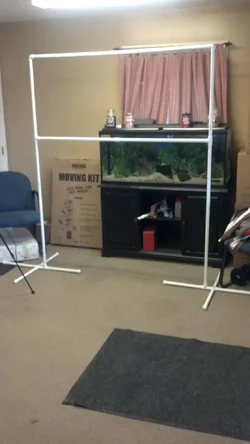
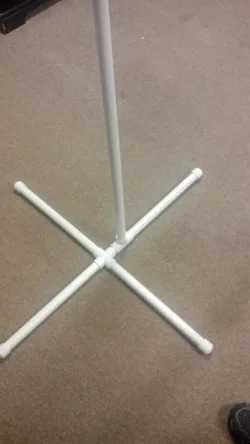
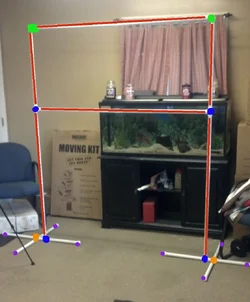
DiY Muslin Stand, my other one was so flimsy.


$IMG95201304139514451195947.webp


Also doubles as ladder ball for giants!
 
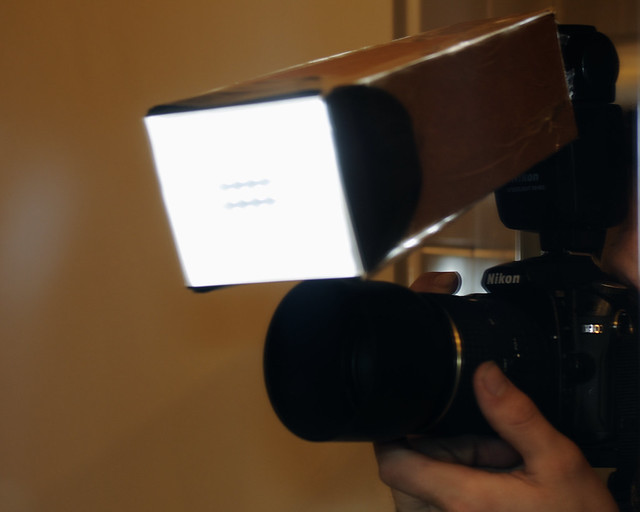
Quick and dirty macro softbox for the sb600.
5814820649_c812b2ac41_z.jpg


I made a similar macro softbox, out of a shoe box and some toilet paper, when I was visiting Stockton, Ca.
7978685391_245ee55763_c.jpg


7953865018_11f58ce6c7_c.jpg


I don't have a picture of the 3ft x 2ft softbox I made entirely out of a table box. I used the super thin Styrofoam packaging for the diffuser. Lined the interior with tinfoil. Here's a picture made with it. I also made the opening in the back just large enough to squeeze 2 sb600's in there.

7326123082_617107153b_c.jpg


7326125140_a3508d81ae_c.jpg
 
Nice work Jake.

Also, Michael, would like to know how you made that stand and how much all the parts cost.
 
My DIY alternative to a Camera bag. Wanted something big enough to hold my camera and all my gear, tripod, reflector... Also that wouldn't get me jumped for obviously being a camera bag.

The only one they had big enough was $70

Got this for $8.88 + tax

Coleman 9-Can Quilted Tote Cooler: Camping : Walmart.com
 
Nice work Jake.

Also, Michael, would like to know how you made that stand and how much all the parts cost.


$IMG95201304139516253495382.webpView attachment 42183$IMG95201304139516343595093.webp

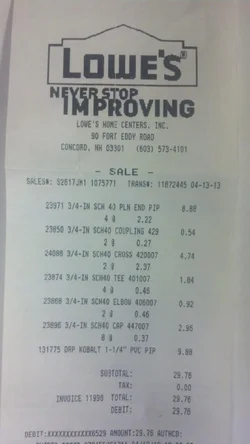
Parts list was:
4) 3/4X10' PVC
8) 3/4 caps (for the stand)
2) 3/4 Cross (for the stand intersection)
2) 3/4 90 degree elbows
4) 3/4 Tee's (2 for the stands to hold the uprights 2 for the middle support on the uprights)
2) 3/4 couplings were used in the middle of the 2nd picture, So I can break it all down and fit it in a bag.

If you need more details, Ill write it up and pm it to you.
 
Thank you so much for that. I am pretty good at putting things together.

Just to make sure I am understanding this correctly:

Parts list was:
4) 3/4X10' PVC
8) 3/4 caps (for the stand)
2) 3/4 Cross (for the stand intersection)
2) 3/4 90 degree elbows
4) 3/4 Tee's (2 for the stands to hold the uprights 2 for the middle support on the uprights)
2) 3/4 couplings were used in the middle of the 2nd picture, So I can break it all down and fit it in a bag.

$IMG95201304139514451195947.webp


What is the last thing? Not familiar with the term coupling but looked it up and seems there are threaded ones and not threaded ones... what do they look like and how are you using them?

Also I am trying to sort out the feet. Did you assemble them? or did they come like that? If I need to get them cut what size do they need to be?

I am guessing one extra PVC assembled with cross joints but what lengths? 2, 2 1/2 and 4, 1 1/4?

Thanks for your help.


Edited: Nevermind I see it on the receipt. I will send you a pic when it is done.
 

Attachments

  • $IMG95201304139514451195947.webp
    $IMG95201304139514451195947.webp
    76.6 KB · Views: 118
Last edited:
What is the last thing? Not familiar with the term coupling but looked it up and seems there are threaded ones and not threaded ones... what do they look like and how are you using them?

If you look closely at the second pic he posted, there is a 'sleeve' in the middle of the horizontal pieces. Those are the couplers. The whole assembly comes apart in the middle for storage/transport.
 
View attachment 42213This is the supporting base, there is one on each side. You'll need to cut 4 PVC pieces at 15 inches and a 2 inch piece, you'll put 3 of the 15 inch pieces you cut into the cross (+) connector. In the empty space, you'll place the 2 inch piece you cut followed by the (T) and then your last 15 inch cut.

To make it a lot easier go this route.

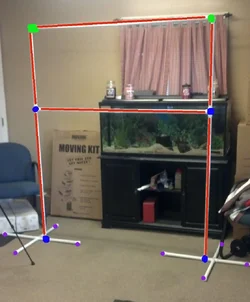
After you build your 2 supporting base's, cut 2 PVC pieces at 75 inches, place them in the (T) on your support bases. On top of the 75 inch pieces you cut, throw on the 90 degree elbows on both of them. Cut you last piece at 54 inches and place that in your elbows to connect it all.

Heres a quick diagram, hopefully this helps you out.

33msh0k.png
 
I'm glad you show an interest in what I built, if you decide to try it please keep us updated with some pictures.
 
Most definitely will build one. Way better than buying one. I have priced them. Plus these little DIY projects always make me feel useful in someway. It may be a project for next month though. Will post pics when it is finished. :mrgreen:
 

Create an account or login to comment

You must be a member in order to leave a comment

Create account

Create an account on our community. It's easy!

Log in

Already have an account? Log in here.

New Topics

Back
Top Bottom