Urgent Help! Photo backgrounds different

sbeez

TPF Noob!
Joined
Sep 30, 2012
Messages
6
Reaction score
0
Can others edit my Photos
Photos OK to edit
Hi guys,
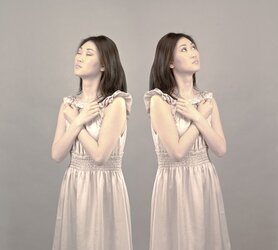
Im having a terrible problem with photos i took that have a completely different tone of background. Im trying to merge them together but this difference in background is obvious and something im having trouble fixing. Im trying to blend it to make it appear as one image. I dont want a flat colour of the background. I would like to keep texture and depth but just need to find a way to get the colours of the background exactly the same on both cut out sections.

Attached is a basic screenshot which shows my problem. If anyone can give some sort of walkthrough or advice i would be greatful!

Also, I have 16 similar images to edit. If anyone has an idea of how to know if the background colours are the same via lightroom before taking it in for editing that would be helpful and i believe it would make things easier.

sbeez_zpsbdc8d799.png


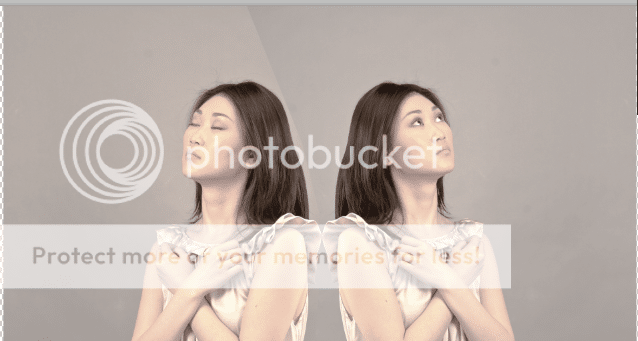
-this shows the basic difference in colour. its clearly obvious half of the image is a different colour with the background!

one_zpsb2ddd42c.png


two_zps3d3162fb.png


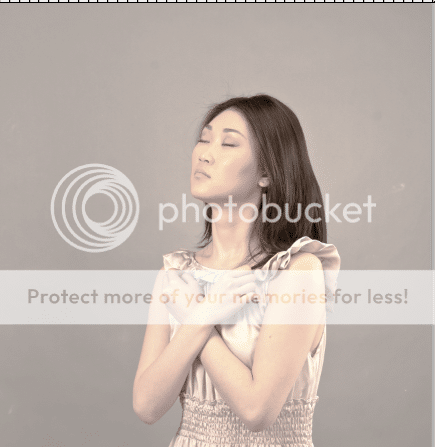
both sides of the image

Screenshot2012-09-25at10334AM_zps3237b6fd.png


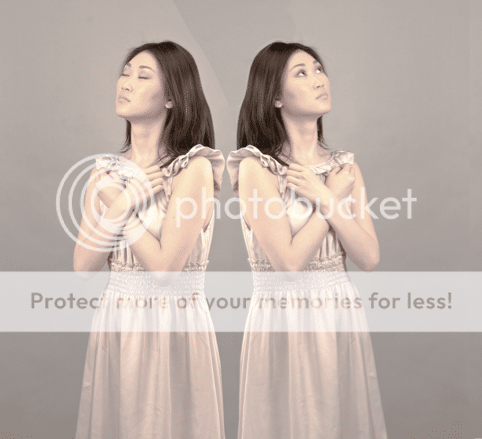
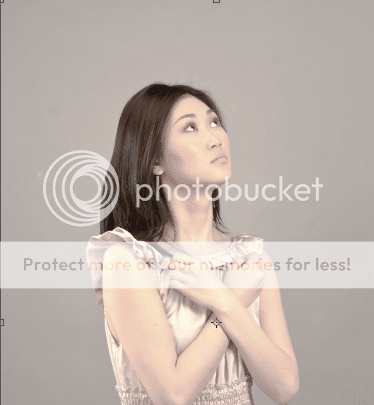
full image. there is an evident gradient change as the image progresses. i would like to maintain this if possible.

angel1right_zps54c870ec.jpg


angel1left_zps06956766.jpg


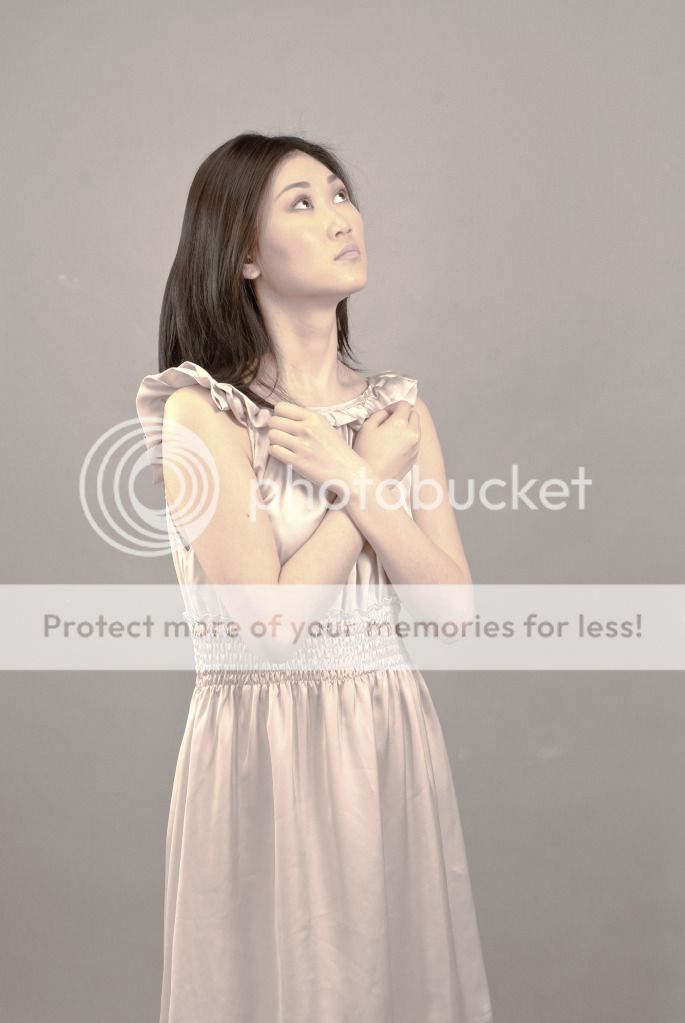
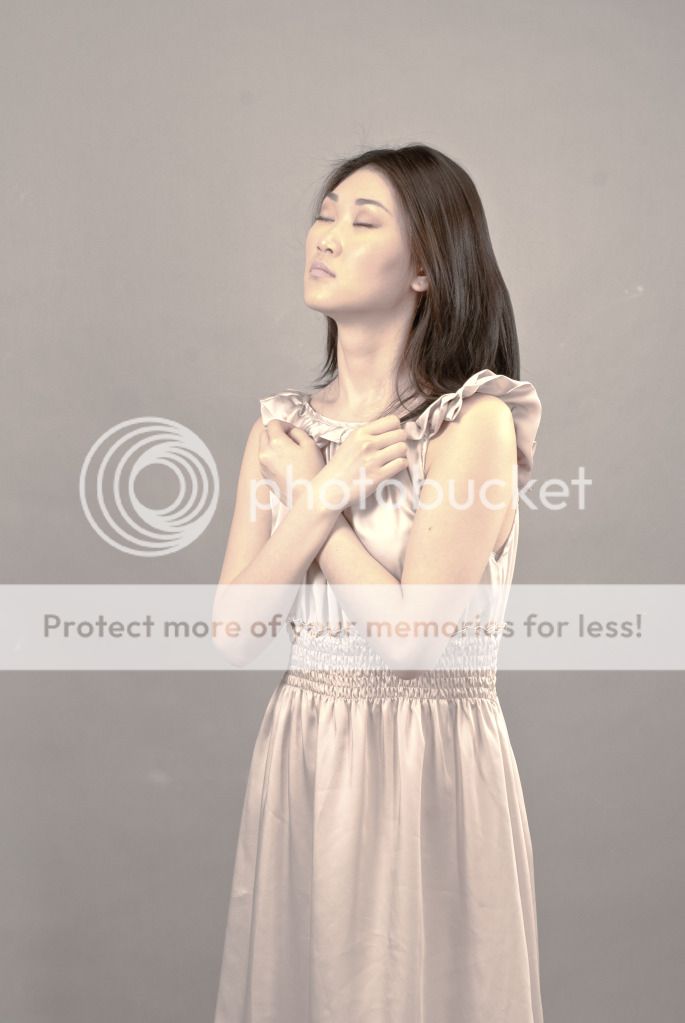
High res of left and right
 
Last edited:
Your links do not work. Please either correct that, or better yet, embed the images within the post as many members hesitate to click on links.
 
sorry, links updated with images now. hope that helps.
 
if you would do two things you might get better, more useful responses.

1) change your profile to allow editing
2) post links to the full res images. These are way too small to do anything sensible with.
 
ok, i have uploaded a high res of the left and right which i will merge together to make the final image. Hope that helps
 
I used Photoshop's Magic Wand to select the background (10% tolerance) then used Filter : Blur : Average. This was a very quick, two-minute select and edit. Obviously, you would want to take more time to select the bg pixels. There may be a better way, but I'm not a PS guru.

Also, when I saved it (as PNG) the file size shot way up for some reason. I couldn't attach it so I saved it as a JPEG.

View attachment 21644
 
that looks pretty good snowbear. was this done on the lq of the two already merged or was this done using the two images in hq? im really hoping to maintain some of the difference in colour from the head outwards. not really aiming for a flat one colour background but not sure if this is possible....
 
I use the merged shot. If you did this process with the individual shots, you'd have even backgrounds but the colors would be different for each photo. You'd then have to select the color from one and substitute it for the bg color in the other, or merge then flood fill (or such). It seems like the easiest way is to merge, then edit.

I'm sure you can blend the line in the middle. Just have to play with it.
I'm not sure of any way to do this from within Lightroom.
 
i see. thats great help. how would you suggest in keeping some sort of depth to the background? i was considering finding a texture but worry that if blown up at a3 and larger it will look fake
 
I'm sure there are some other ways to blend - I used average. Again, I'm not that experienced with all of what PS can do. Hopefully some of the more experienced PP folks will chime in.
 
You mentioned LR in your original post. You can't do this using LR. I don't know if you have access to Photoshop, but the process is pretty straight forward if you do.

I took your two originals and combined them in Photoshop. The one on the left is a layer on top of the one on the right.

I used Photoshop's color picker to sample the wall directly above the model's head in the right side photo and I wrote down the RGB values. Then I went to the left side photo and accessed Curves. Holding down the Crtl and Shift keys I clicked on the same spot on the wall above her head. This placed a node in Curves. I accessed each separate color channel and set the output value to the value I had written down from the left side sample. This forces the sample spot in the second photo to be the exact same color as the sample spot in the first photo.

There's a very subtle variation still visible due to the difference in gradation which would be easy to healing brush away. I left it so you could see how well this method matches the two backgrounds.

Joe
 

Attachments

  • $clr_match.jpg
    $clr_match.jpg
    100.2 KB · Views: 143
thanks Ysarex. ill give this a go and give an update. Just noticed this though, when i view the image on my phone there is a clearly different tint on each side of the image..almost like the right is more pink in tone? but on the computer it is barely visible. Im just hoping this isnt apparent when printed.
 
I don't believe that this image will print well.
There are several blanched spots and extreme noise and, to me, unpleasant color tint.
 

Most reactions

New Topics

Back
Top