vibrant black and whites

nikongirl34

TPF Noob!
Joined
Sep 27, 2010
Messages
6
Reaction score
0
Location
ca
Can others edit my Photos
Photos OK to edit
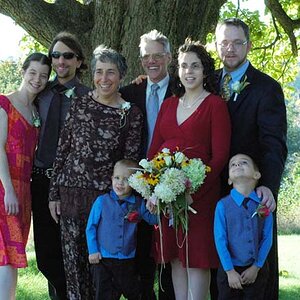
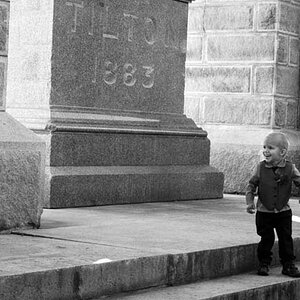
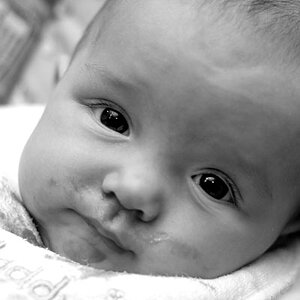
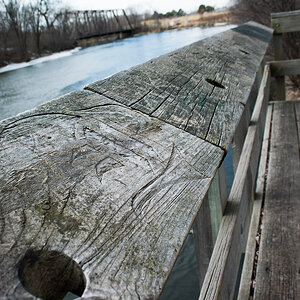
I was wondering if anyone could help me out. I've been trying to work on my black and whites and ive been trying to capture a certain look but i can't put my finger on it. I've found an example of what I was looking for on this blog.

Blush Photography Brooke Dahle- Utah wedding and portrait photographer

If you scroll down a little you'll see a black and white, its the 3rd post down. The blacks are so black and the whites are so white its almost as if its glowing. Any input on how to acheive this look? I'm working with gimp btw. Any help is greatly appreciated!
 
Flash and processing, that's all.

I didn't really look at it though, because they have music on their site. And however great at photography they are, I won't visit their site if it has music behind it.

And B&W photos aren't supposed to be vibrant. They're supposed to be only 256 shades of gray. lawls
 
well regardless if they aren't "supposed" to be vibrant thats just the way they seem to me and its the look im trying to figure out how to do... and if you didnt really look at it then why are you responding to my question? lawls.
 
I did REALLY look at it. But I didn't REALLY take a good look at it, because of the music.

Like I said, flash and contrast-y processing would be my guess.
 
no music for me, turning off speakers is a good thing

they look over exposed to me, and they don't have a long tonal scale. think high key.
 
In part, it's the difference between using a camera that has an APS-C size sensor and a full size sensor.

The images were made using a Nikon D700.

Mostly it's having a good understanding of what makes a good B&W image, contrast.
 
I think that 'contrasty' is a more appropriate word for what you are looking for.

There are many different ways of converting a color image to black & white, and many different tweaks that you can make in the process. At least in Photoshop there is, I'm not sure what the options are in Gimp.

Maybe you could post some example of what you are coming up with and maybe even post some of the original images for people to have a crack at.
 
no music for me, turning off speakers is a good thing.

I don't feel it should be necessary to turn off the music that I like to view photos that shouldn't have sound associated with them... Because they're photos, and don't have the capacity to record sound.

I'm glad you like turning off your speakers though. Good for you. :thumbup:
 
music aside, my point of this thread is to see if anyone has an idea of how to acheive that kind of look .. im shooting with a nikon d3000 and editing in gimp
 
There's a trick you can do to make your digital images look BETTER. It involves using Unsharp Masking at a small percentage, like 10 to 15 percent, at a high pixel radius, like 60 to 150 pixels, at a threshold of Zero. Yes...you read that right...those numbers are in the correct order. What this does is it increases local contrast, and it gives images a sense of more "texture"; a lot of digital files are flat, dull, and look mushy. What they lack is differences in tonal value from one tone to the next. This is why the digital prints of so many people look like, well, like crap. I don't want to bash that photographer's work, but that is not what I consider to be professional-level B&W work.

If you want to read more about the technique I am describing, look up Ctein's latest articles on The Online Photographer. He is one of the USA's absolute-best digital printers and a true master. He also has a nice book for sale on print restoration.
 
Can we be more descriptive on which pic you mean? 3rd pic down is not monochrome.
 
its the 3rd post down, not the 3rd picture
 
If using photoshop adjust proper contrast in Levels, then add a gradiant map black to white, you may have to reverse it so it looks black and white. Then add a channels adjustment, check monochrome, and set the following values for RGB, 60,20,20 set the luminosity at between -8 and -6 ( I could be off on the luminosity numbers but its a good starting point. And this is the control that can help add those dark dark blacks.) Tinker with the color sliders as well.
 
Last edited:
If using photoshop adjust proper contrast in Levels, then add a gradiant map black to white, you may have to reverse it so it looks black and white. Then add a channels adjustment, check monochrome, and set the following values for RGB, 60,20,20 set the luminosity at between -8 and -6 ( I could be off on the luminosity numbers but its a good starting point. And this is the control that can help add those dark dark blacks.) Tinker with the color sliders as well.

I myself most frequently use the Gradient Map method of going to monochrome in Photoshop...

It works quite splendidly, prints well, and is easy to do the conversions.

It's possible to do a gradient Map to black and white, then use the curves to adjust the dark values and the highlight values so the blacks are deep, but will not "ink up" too much in printing, and use the curves to make sure the highlights are not blown.

For on-screen images, you can use the Shadow/Highlight tool to lighten excessively dark dark tones, and then re-adjust with the curves, and then, finally, add some local contrast using the USM trick I mentioned above.
 

Most reactions

Back
Top