
fstopusa
TPF Noob!
- Joined
- Jun 17, 2008
- Messages
- 23
- Reaction score
- 0
- Location
- Knoxville, TN
- Website
- www.knoxvillestudio.com
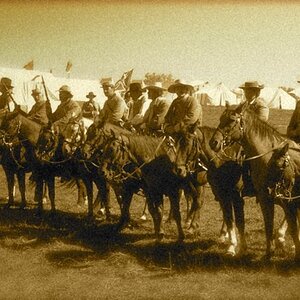
I agree that the best thing to have helped this shot would have been to wait a little later to shoot. However, having said that, this can be a difficult thing to determine, especially when you have not done it a lot. Here are some suggestions/tips on shooting this type of shot:
- Always use a tripod (a good sturdy one) to reduce movement from vibration.
- Use a remote trigger or cable release to reduce movement.
- Shoot at around f8 or f11. Most lenses are sharpest in this range and is good for general DoF on smaller formats.
- Turn off AF and focus manually. It just works better.
- A bubble level is good for checking your level, but sometimes you just need to "eyeball" it.
- Longer exposure will produce more noise on digital.
- There will be reciprocity failure if you use film.
- Start shooting when you think the light is getting good and shoot a new series every time you can see a noticeable change in the light. Use a meter if you need to. The time between each series will get closer together as the light gets lower. The "peak" time may only be about 5-10 minutes long.
- BRACKET YOUR EXPOSURE. This is probably the most important thing you can do. Your camera meter will LIE to you. It will try to get you to expose all of those beautiful deep black tones as if there were 18% gray.


![[No title]](/data/xfmg/thumbnail/37/37111-64f64f2c8371420041bf39244ff12117.jpg?1619737882)


![[No title]](/data/xfmg/thumbnail/42/42061-9f4eb186c434652d6587c8bcdde59502.jpg?1619739997)


![[No title]](/data/xfmg/thumbnail/31/31702-59b5519e3c9a12b85ca69439a27f5253.jpg?1619734961)