School Assignment

A couple of issues. When you say you're metering for the shadows, how are you doing so? To use Zone System terminology, your meter is going to meter that area for Zone 5 or middle gray. If you then pull back and shoot the scene at those settings it is going to overexpose everything. Your shadows are going to come out middle gray. Not good for the shadows and the highlights are going to be 2-3 stops overexposed. "Metering for the shadows" implies that you are going to meter the shadow area and then stop down from there to put the shadows 2-4 stops below middle gray, depending on how much texture and detail you want in the shadows.
Right. I knew light meters were calibrated to make everything middle gray, but I didn't think about stopping down to make the shadows fall into Zone III or II. Normally I filled the frame with the shadows knowing that it would turn them middle gray and I thought I could "fix" the overexposure by underdeveloping. Like you said, though, that's a little over my head at the moment.

re: DOF. Like I said, if you are going to shoot shallow DOF at close range you have to be extremely precise. You have no margin for error. At that close range you will have a relatively shallow DOF even when you stop down a few stops.
I used to want to shoot everything at f/1.4 because I love soft blur, but I've learned through painful trial and error that f/2.8 is often good enough for my purposes, and sometimes even f/4 if I am close enough to the subject.

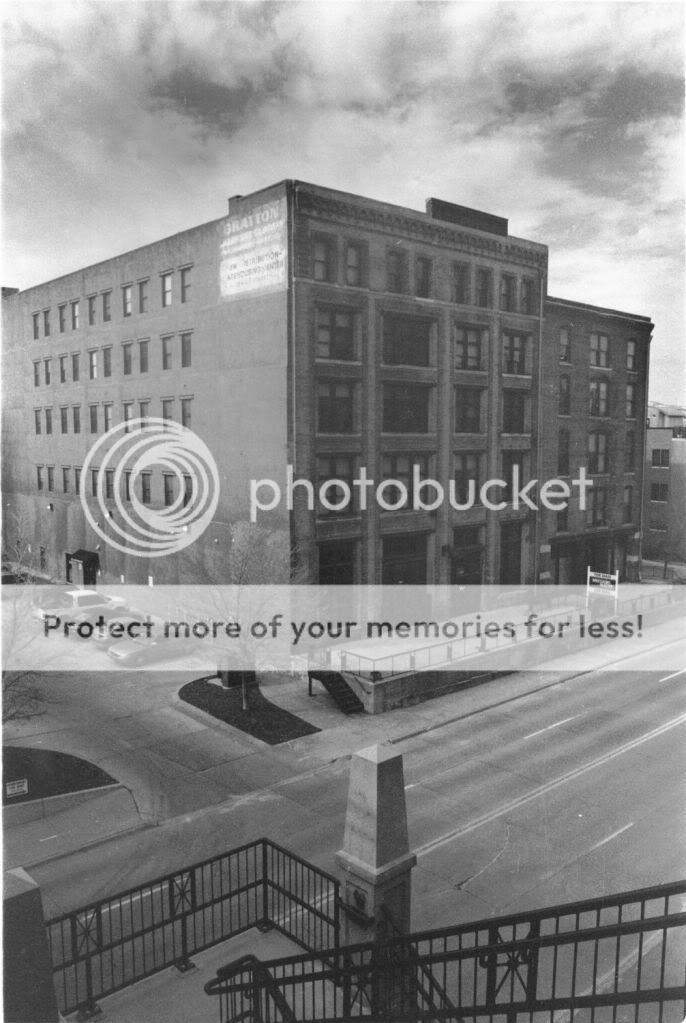
Anyway, today while I was printing the photograph of the building, I discovered that my enlarger lens shifted focus to different parts of the negative, causing either the foreground or background to blur. Thing is, most of the negative is sharp. So when I made the print I focused on the foreground bricks, since that is what I could see clearly. What I am wondering is if the enlarger lens functions like an ordinary camera lens, and if so, that I should focus my enlarger somewhere in the middle of the image to ensure that everything in focus in the negative is in focus in the print.

Probably not. It's likely due to having the enlarger lens wide open (f/2.8) to ensure maximum light for focusing, right?

:confused:
 
What I am wondering is if the enlarger lens functions like an ordinary camera lens, and if so, that I should focus my enlarger somewhere in the middle of the image to ensure that everything in focus in the negative is in focus in the print.

Probably not. It's likely due to having the enlarger lens wide open (f/2.8) to ensure maximum light for focusing, right?

Some of the more experienced printers may feel free to step in, but the enlarger lens does function like the camera lens. It has its "sweet spot" as does the camera lens and that is typically a few stops down from wide open.

I was taught to generally print at 5.6 or 8 and was advised that there is rarely any reason to go any wider. At those wider apertures your image is going to go softer toward the periphery.

What is sharp in your negative should also be sharp on your print. In the beginning I was using a lower power lupe and told to focus on some straight line toward the center of the image and make it sharp. My eyes are pretty good but I was having a hard time coming up with reproducable results. I noticed a WORLD of difference in the sharpness of my prints when I started using a higher power grain focuser and actually focusing on the GRAIN in the image. I generally prefer f/8 and focus to bring the GRAIN in sharp and have had much better results.

Don't use a wide open aperture. You don't gain anything and unnecessarily shorten your print times and risk softening the edges.
 
It's all starting to come together. Today was the first time I really experimented with contrast filters and dodging/burning. My dodging/burning skills definitely need some improvement. I spent most of the lab time getting this image right (the negative was really underexposed, and there was not much contrast in the sky):

Print9_1.jpg
 
Very cool. Tell us what you did to get that print. Camera, film, development, filter grade, printing time, where you dodged, paper? I learn alot talking about the process.
 
That one was shot with my Minolta SRT with a 28 mm prime lens and Red R2 filter. I stopped down to f/16 because I wanted to try hyperfocusing the lens to get great DOF. Shutter was 1/500; basically I didn't compensate enough for the filter and the negative was underexposed.

Film was ilford HP5 400, and I developed it the same way as I have been for most of the pictures in this thread -- 9 minutes @ 69 degrees, 30 sec. agitation initially and then 5 seconds every 30 seconds.

Ilford multigrade IV RC paper, #3 filter, printed for 12 @ f/16, dodged the right side of the building with my fist for about 2 seconds, and burned the sky for 2 seconds also. I kindof messed up while dodging, though -- there are supposed to be some light grays in the clouds near the buildings (instead of pure white).

I might make a new print today using a #4 filter and print it for 9-10 seconds instead. And burn / dodge better, of course.

Technical details aside, I'm curious what people think of the image. Let me know what works and doesn't. Personally, I think I could crop it better, and I may make a full negative print with border. And the way the building seems to lean bothers me, but I don't think there's much I can do about that.
 
I like the image and I like the crop. I don't mind the leaning building, kind of gives it a surreal look.

I'm curious to know why you dodged the right side of the building? It looks like you dodged as the building to viewer right and the sky in that corner look too light.

Personally I would NOT go up in contrast. It is already contrasty and you're losing your midtones. But I would try a few different strategies and see what you like best.

First, I would try going DOWN in contrast by 0.5 or 1 grade and print long enough to bring in the full blacks. The sky looks good burned in but you can pick up more fine detail by going down in contrast.

I like where you're going with this. The grays are still a little muddy, perhaps needs to be printed a little longer and then developed to completion?

Fix that building to far right so it doesn't look so light compared to the central building and burn in that bottom left corner.

Like I said, I like the composition the way it is. Now you just need to fine tune the printing. Keep it up!
 
Hell of a time in the darkroom today. Lot of effort, lot of wasted paper, and only two prints. Here is a new version of the building. Sigh. Muddy tones galore!

Print10.jpg


I'll post more about the image later. Suffice to say, I used a different enlarger that wasn't calibrated quite the same and it gave me a headache.

This picture is kind of boring; not sure why I printed it.

Print111.jpg
 
I think the sky looks great and I quite like the composition. The building needs more exposure one way or the other, overall print time or burning. Bring those detail-less shadow areas to black.

It is a matter of putting all the pieces together at the same time in one print. I like the image and you've got the sky down. Figure out the building and the foreground and you've got a print you can be proud of. Ask your teacher for help. Everything doesn't have to be trial and error and wasted paper. Get advice from those who have gone before you.
 

Most reactions

Back
Top