Grrr i just wrote a huge post and then it said something like the 'token had expired...'
Again.. :
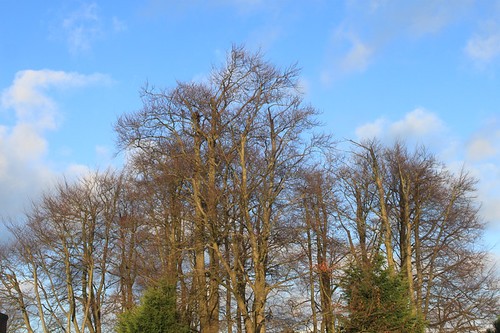
Ive only had my camera for 4 days and so i shot these trees as they are right outside my window. - Subject is C**P i know, but i just did it to try editing
All photos are Jpegs. f/4.5 (for 1st photo) f/8 1/80 34mm
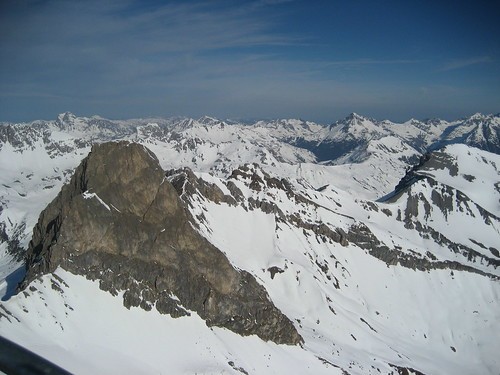
1. Original without polariser
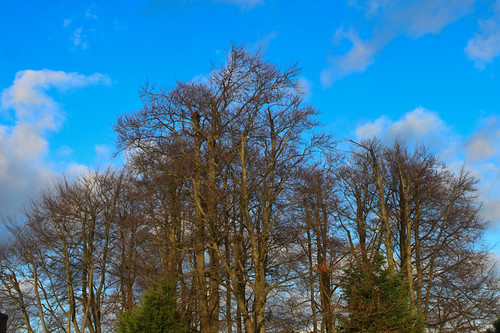
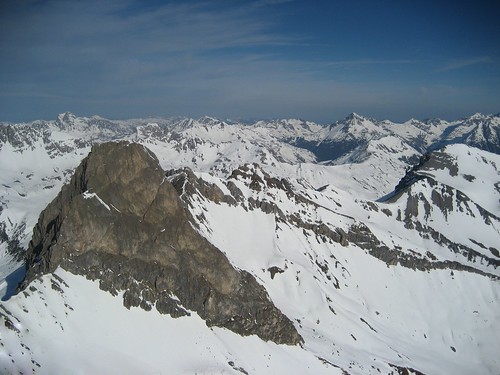
2. with polariser - im amazed at the difference!
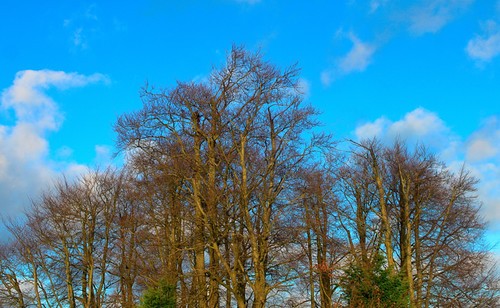
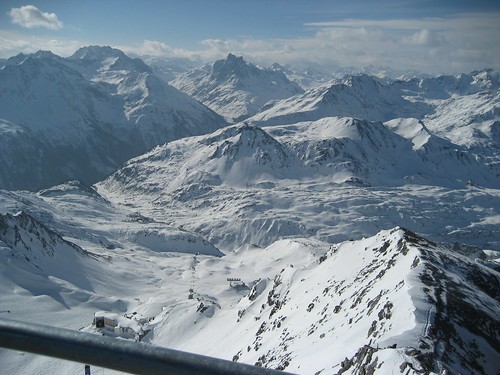
3. Edit 1 - first go at editing
4. Edit 2 - editing some more.... - cropped it a little bit
5. went for the B&W/Grayscale
Thanks! just my first goes at editing - please give me feedback
I see you used the patch tool on the clouds and so it reminded me when i edited some photos for a friends magazine - i was 14 at the time so they arent great - they were taken with a P&S i think so quality isnt great either!
Thank you for telling me an idea of what you did! Puts me in the right direction to learn more
Well thank god you did. Im amazed at how you have put them together! The best thing about it is that when i look at it, it relaxes my eyes because of the soft colours - sounds 'gay' i know, but it really does! Im in awe.
How did you select your area that was to be transparent? I'm familar with the layers and masks concept, but more from the selective coloring aspect where an individual just "erases" what they don't want on the top layer. Obviousy, you've done something different here.
If anyone else knows how to acheive the result HIkinMike did, please chime in.
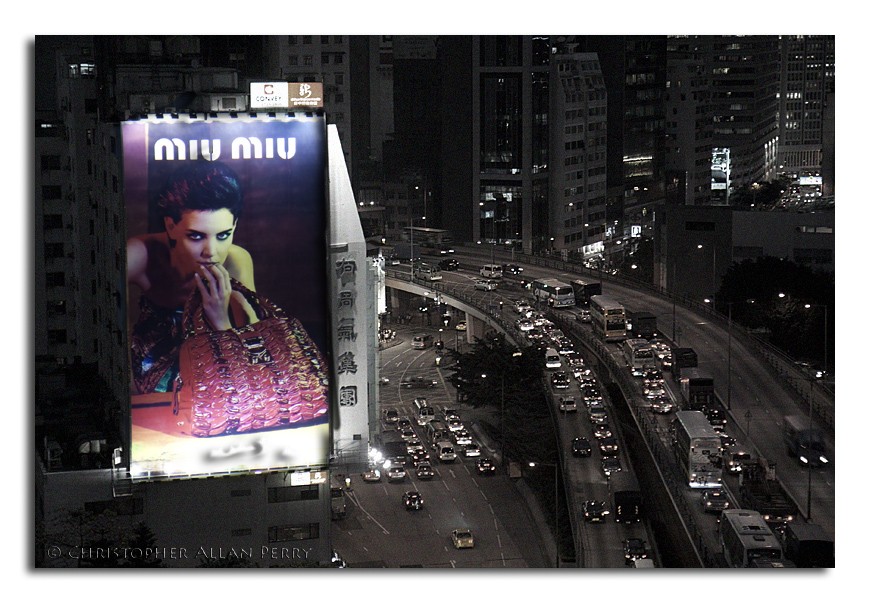
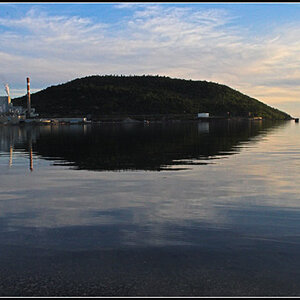
I'd struggle with the original images, as I'd have to go back and find, resize, then pop them on a host, but these are a few rather more radical edits I've done.
All being well, you should be able to click on them and find out a little more detail of what was done to them.
How did you select your area that was to be transparent? I'm familar with the layers and masks concept, but more from the selective coloring aspect where an individual just "erases" what they don't want on the top layer. Obviousy, you've done something different here.
If anyone else knows how to acheive the result HIkinMike did, please chime in.
I use a soft brush (300px @ '0' hardness) as my default brush. I can then use the [ ] brackets to decrease/increase the size of the brush. I also vary the opacity to fine tune the mask.
I have been learning photoshop and really use it for tons of stuff. Color balancing, white balancing, dodging, burning, saturation, touching up portraits, B&W conversion. I am not at my home computer so I can't upload any examples right now. I would recommend checking out this book. Its a great reference book for just getting started. Photoshop CS4: Top 100 Simplified Tips & Tricks (Top 100 Simplified Tips & Tricks)
I liked your pics, but should mention one thing ( and maybe you were going for this effect ) Watch for unwanted color casts created in your photos when you do your adjustments. You should try using levels or curves to fix that. It looks like you brought up the red saturation for the bricks and in turn also gave the wood a yellowish tinge. Try masking off just the bricks, or using Color Range to select only the red in the bricks.
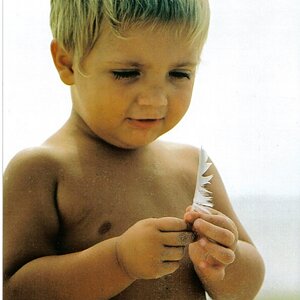
Original:
Finished Photo:
For this one, I straightened it up, as it was unbalanced, and cropped it some to make it a closer portrait. I cropped out all the background and left just the wood paneling in the background. I adjusted the color on the bricks to give them some warmth, and adjusted the brightness and contrast. I also sharpened her eyes up to make them more visual.[/QUOTE]
As an Amazon Associate we earn from qualifying purchases.