RoRoCo
TPF Noob!
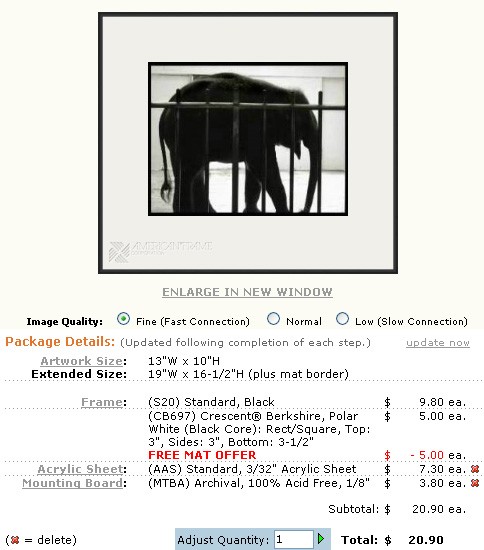
Now I am not talking about the physical mounting of the pictures once you have a frame. I am talking about designing the pics themselves for printing and designing the frame to surround them so that the art looks the most professional.
This is definitely a overall newbie question: are there any rules I should follow in framing artwork?
I know how to frame my shot for a decent online presentation, but after ordering some picture and trying to frame them the way they appear online I realize I am doing something wrong.
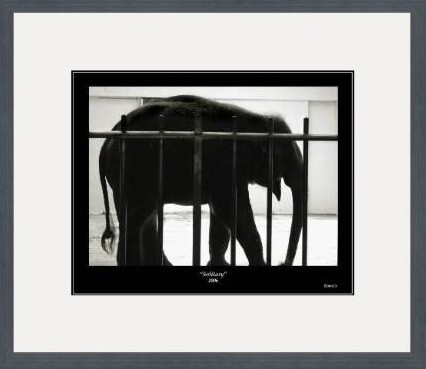
Here is an example of the end product courteously www.americanframes.com

Even if I have a black frame it still looks a bit off. I feel like the Photoshop border may be a bit much when framed with an additional mat, but the only two option I see to help are:
1) Get rid of the frame's mat but the overall presentation looks bad
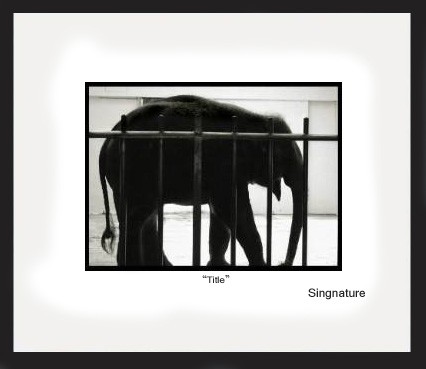
2) Get rid of the pictures border do I sign and title on the mat itself (my handwriting is not presentable, but I guess I can find someone's who is).
Thanks guys!
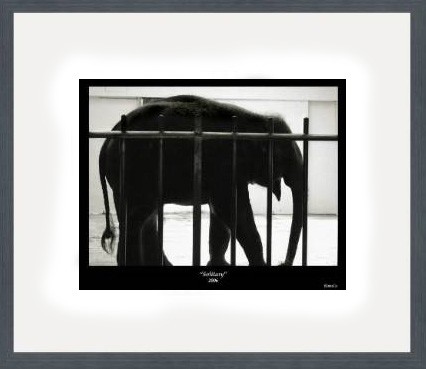
This is definitely a overall newbie question: are there any rules I should follow in framing artwork?
I know how to frame my shot for a decent online presentation, but after ordering some picture and trying to frame them the way they appear online I realize I am doing something wrong.
Here is an example of the end product courteously www.americanframes.com
Even if I have a black frame it still looks a bit off. I feel like the Photoshop border may be a bit much when framed with an additional mat, but the only two option I see to help are:
1) Get rid of the frame's mat but the overall presentation looks bad
2) Get rid of the pictures border do I sign and title on the mat itself (my handwriting is not presentable, but I guess I can find someone's who is).
Thanks guys!

")


")


![[No title]](/data/xfmg/thumbnail/36/36665-7c494bf98537fba5ac87ac5ad6bda658.jpg?1734169172)

![[No title]](/data/xfmg/thumbnail/36/36666-189f65b1addbb68da2a43dc6f7206a01.jpg?1734169172)


