I will c&c your work for you. Beginners welcomed

I 'd really like to see your edit on this one. thanks Dwayne

DSC_0074-3.jpg

good

-the classic pumpkin patch photo
-good comp (the choice for a vertical and good FG placement of
the pumpkins adds depth to the photo)
-great colors
-very good contrast and detail
-the DOF works here
-exposure is right on

nit

-no nits here really but here is a fun trick you can do to add artistic flare
to this classic photo

tweak

Some times you can base your pp around a theme or concept, in this
case the theme is everyone is looking for that perfect pumpkin. Which you
could title this photo "The Perfect Pumpkin"

-desaturated the colors (global)
(global means the change will affect the whole photo)

-added a tad of selective color saturation to just the one pumpkin

-added a tad of global USM (sharpening) to get over the AA filter

Note: This trick is often done in black and white but this way is very
easy to do and effective.

Hope this helps and thanks for posting.

Take care,
Dwayne Oakes

p999373215-4.jpg
 
I love this thread and am learning a lot, thanks for taking the time to do this Dwayne.
 
I have croped it and played with the color a bit in GIMP (which was my second ever time PP). I also realised from other comments that I had my WB on tungsten. Any help is appreciated!

4293985001_62a987584d_b.jpg

good

-the classic adirondack chair photo
-the mini pano comp works well here
-great pastel colors when they are desaturated (personal choice)
-great light coming off the chair (this is what you want to enhance)
-good contrast and detail
-good DOF

nit

-the colors are a tad over (blue channel is clipped in the histogram)

-the horizon has a tilt to the left when placed on a grid (some software
edit programs have a grid view feature that shows up over your photo
like rulers and help level your photo, very handy) also most cameras
have this feature built in, check your manual or menu to find this
feature on your camera

-lens barrel (the horizon has a curve to it) this is common and there
is nothing wrong with your lens and it will start to show up around
20mm or less focal length

-photo is a tad underexposed by 1/3 Ev (exposure value)

tweak

-desaturated the colors (global) to bring out the nice natural pastel colors
(personal choice)

-straightened the photo (most software edit programs have a
straighten tool)

-reduced some of the lens barrel distortion (some edit software programs
have a lens distortion tool to fix this)

-lighten (dodge) the great light coming off the chair (this is what you
want to enhance)

-darken (burn) the sky over the sun a tad to balance the tone of
sky a bit

-added a tad of selective USM (sharpening) to just the chair so its
outline is sharp

-lighten the photo a tad (global) using the midtone slider in (levels)
to fix the slight underexposure

Hope this helps and thanks for posting.

Take care,
Dwayne Oakes

p558820338-3.jpg
 
Last edited:
Here's a doozy...it's original, no PP (I posted a similar photo in the beginner thread the other day)

_IGP2013.jpg
 
Thanks Dwayne, no wonder Canadians get such a good rep!
 
Dwayne, you've done some great work in this thread and have provided fantastic feedback! I was wondering if you could give me some comments on this one... thanks so much:

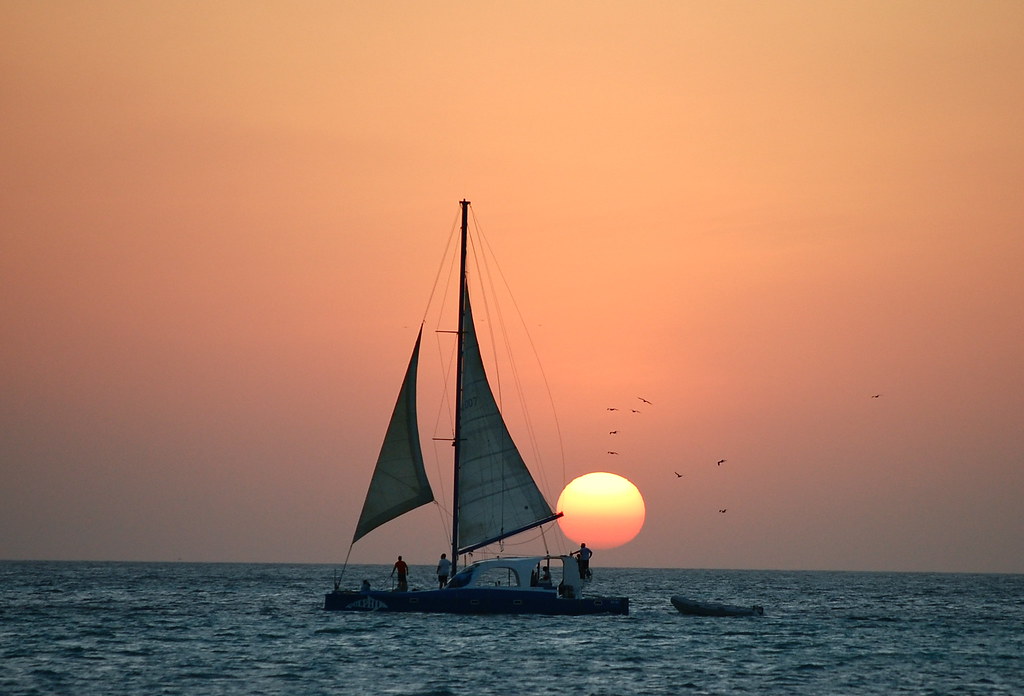
4267108134_4463929929_b.jpg

good

-great pastel colors
-good detail and contrast
-exposure is right on
-great light coming through the sails and on top of the boat roof
-good DOF
-the birds add to the photo

nit

-the comp (subject placed near center)
-a tad noisy (sky)
-horizon has a slight tilt to the right when placed on a grid

tweak

-straightened the photo
-cropped the photo and placed the subject to 1/3 rule

-lighten (dodge) the light coming through the sails and on top of the roof

-put the photo through NR software to reduce the noise in the sky area
-added a tad of global USM (sharpening) to get over the NR software

-used the midtone slider in (levels) to set final exposure

Hope this helps and thanks for posting.

Take care,
Dwayne Oakes

p512921670-3.jpg


That's great, thanks! For some reason, horizon is a common problem with me. I typically have an issue with an uneven horizon and it always seems to dip the right... maybe I'm a little crosseyed or something when looking through the viewfinder.

Right now, I do all my editing on iPhoto. Very, very bare bones. I have downloaded GIMP but have not taken the time to learn how to use it yet. Do you think that's a fine program to use or should I buy Photoshop or Aperture?

Thank you very much for the comments ! As long as the software
can do selective type enhancements like (dodge and burn)
(selective color enhancements) (clone tool or healout tool) (levels) you
will be fine.

GIMP will do all of those and more so my advice is to stick with GIMP untill
you know it inside and out then if you still want to advance you can
spend the money on the more expensive editing software programs
and it won't be such a big step or learning curve when you do decide to
switch.

Also for all the other beginner photographers watching if you do decide
to get into full selective editing like I am doing here you will want to
shoot RAW (more data) file format from your camera and use RAW
(converter) software to process and edit in this type of file format.

If your camera is setup "tuned" right and you are only going to do
lite (global) pp then the JPEG file format will be fine.

One of the reasons I have to post back a smaller photo is this type of
selective pp is hard on JPEG pixels and they start to degrade which
is why RAW file format is the way to go as there is much (more data) to
work with.

Take care,
Dwayne Oakes
 
Last edited:
I love when you do these images Mr. Oakes. Let me find a oldie but goody. Thanks in advance.

Church.jpg
 
Sarai2copyedit.jpg


Nikon d40 with pop up flash.

good

-beautiful model
-great off center comp (good choice for right side as the model's hair
is flowing to the left) but just a tad to tight at the top of the photo
-great lighting (studio)
-great hair, makeup and wardrobe
-very good exposure

nit

-two hot spots (light) on the right side of the model's face
-the metal glint on the collar is a bit of a distraction
-stray hairs could be healed out
-the shadow side of the model's face is a tad dark
-the clothing could be lighten a tad to bring out some of the fabric
-the model's face could use a tad of soft-focus as slight blemishes can be seen
through the makeup

tweak

-darken (burn) the two hot spots on the right side of the model's face
-healed out the metal glint at the collar and the stray hairs

-lighten (dodge) the left side of the model's face a tad so it is not so dark
-lighten (dodge) the clothing to bring out the fabric
-lighten (dodge) some of the highlights in the hair

-put the photo through NR software not for noise but for a soft-focus
effect ot hide some of the blemishes

-added a tad of selective USM (sharpening) to just the eyes and some
of the hair to get over the NR software

Hope this helps and thanks for posting.

Take care,
Dwayne Oakes

p624836086-4.jpg
 
Last edited:
Leaning_by_lonewolf025.jpg


Here's one for ya. Appreciate any advice you'd have to offer.
 
Awesome thread:thumbup:
4315776878_65efa9092d_b.jpg

Any comments are welcome
thanks.
Zak
 
I hate to overload you Dwayne, but I thought I would throw one into the mix to see what you feel can be done with it.

775163373_AfVvm-XL.jpg

good

-great light coming through the flower (thats what you want to enhance)
-great colors
-very good detail and contrast
-good DOF
-great black backdrop
-exposure is right on

nit

-to much clutter and negative space in the bottom half of the photo
-little stray petal on the right could be healed out

tweak

-cropped the photo tighter to get rid of the DOF clutter and placed
the subject close to 1/3 rule

-healed out any clutter left from the crop

-selected the white area in the bottom left corner and added a green
tint to match the other side, used the (heal out tool) to blend the green
areas together

-lighten (dodge) just the flower

-added a tad of global contrast boost
-added a tad of selective USM (sharpening) to just the flower

-healed out the little stray flower petal on the right

Hope this helps and thanks for posting.

Take care,
Dwayne Oakes

p327896645-3.jpg
 

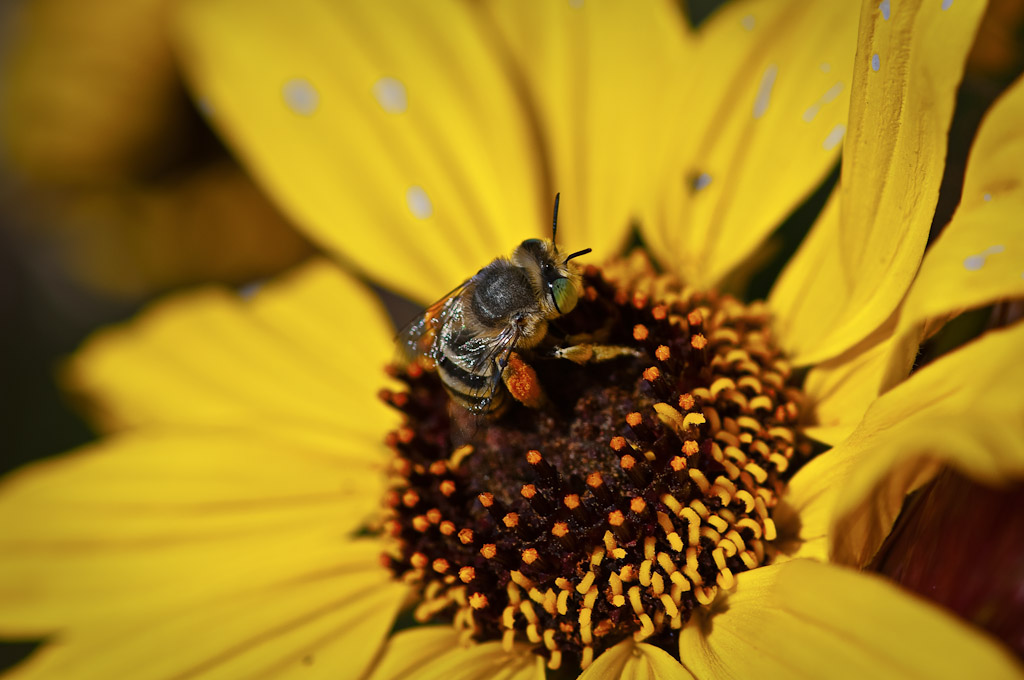
good

-cool bee (one important insect)
-great colors (perfect)
-great detail and contrast
-nice DOF fade
-exposure is right on
-well lit subject

nit

-subject is placed on center and there is a tad to much negative space
-grey spots on the flower ?

tweak

-cropped the photo a tad tighter and place subject to 1/3 rule

-healed out the grey spots on the flower

-darken (burn) the bottom left corner for artistic flare

-added a tad of selective USM (sharpening) to just the bee, it is
better to use selecitve sharpening here rather than global as there is no
point in sharpening out of focus DOF

Hope this helps and thanks for posting.

Take care,
Dwayne Oakes
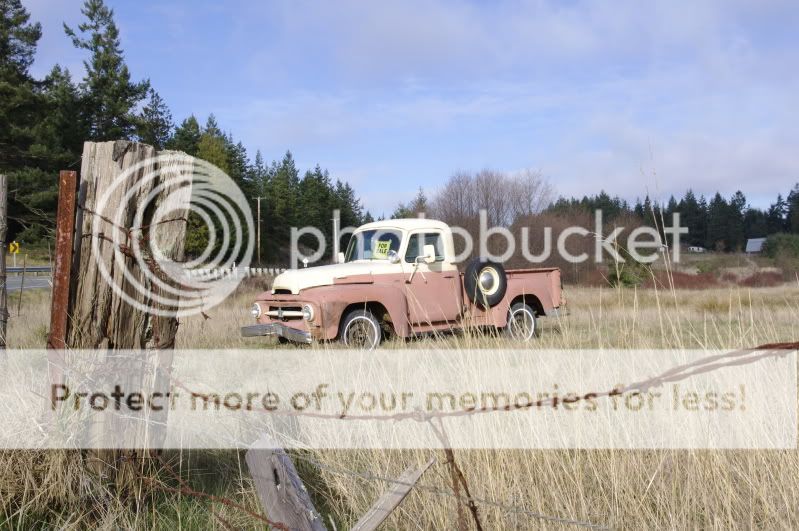
p381162130-3.jpg
 
Thanks so much for taking your time to do this.
Here's one of mine I need some input on.
I'm thinking of turning this in for an assignment for class and I need a boost.
4312445235_7642b1860f_b.jpg

good

-good comp and works well here (good choice for vertical)
-good textures
-good contrast and detail
-good DOF
-exposure is right on in the FG

nit

-the sky is clipped (blown out highlights)
-dark shadows in the trees

tweak

-switched the photo to black and white as it excels at showing textures
(personal choice)

-a cool trick to fix small to medium clipped areas is to just heal or clone
them out then lighten (dodge) a new light area in and since you can
control the (dodge) or brightness you can control the clipping like
I did in the sky here (histogram shows no clipping in the sky now) this
trick also works great when you have parts of clouds that are clipped

-lighten (dodge) some of the shadows in the trees

-added a tad of seletive USM (sharpening) to just the FG and MG
(foreground and midground)

Hope this helps and thanks for posting.

Take care,
Dwayne Oakes
p1031257512-4.jpg
 
Last edited:

Most reactions

New Topics

Back
Top